These days, even the most basic computer hardware provides enough performance to sustain the average person’s PC needs. I’m not talking gaming and graphic design, but web browsing, word processing, and maybe some image editing — stuff even your mother knows how to do. Like a very well-maintained automobile, a well-maintained PC will last quite some time, especially with hardware from within the last six years; there’s no definite rule that PCs have to slow down over time. But if you find yourself in possession of a slow computer, the ten easy tips provided below will restore life back into that old hoss with little difficulty.
1. Clean your PC using CleanMyPC
CleanMyPC is an excellent free tool for getting rid of the miscellaneous waste that’s left behind when software is uninstalled. Empty folders, useless caches and logs, nonessential registries? Gone within a few clicks. CleanMyPC also features a Clean Uninstaller that permanently removes applications and prevents such junk from being left behind in the first place.
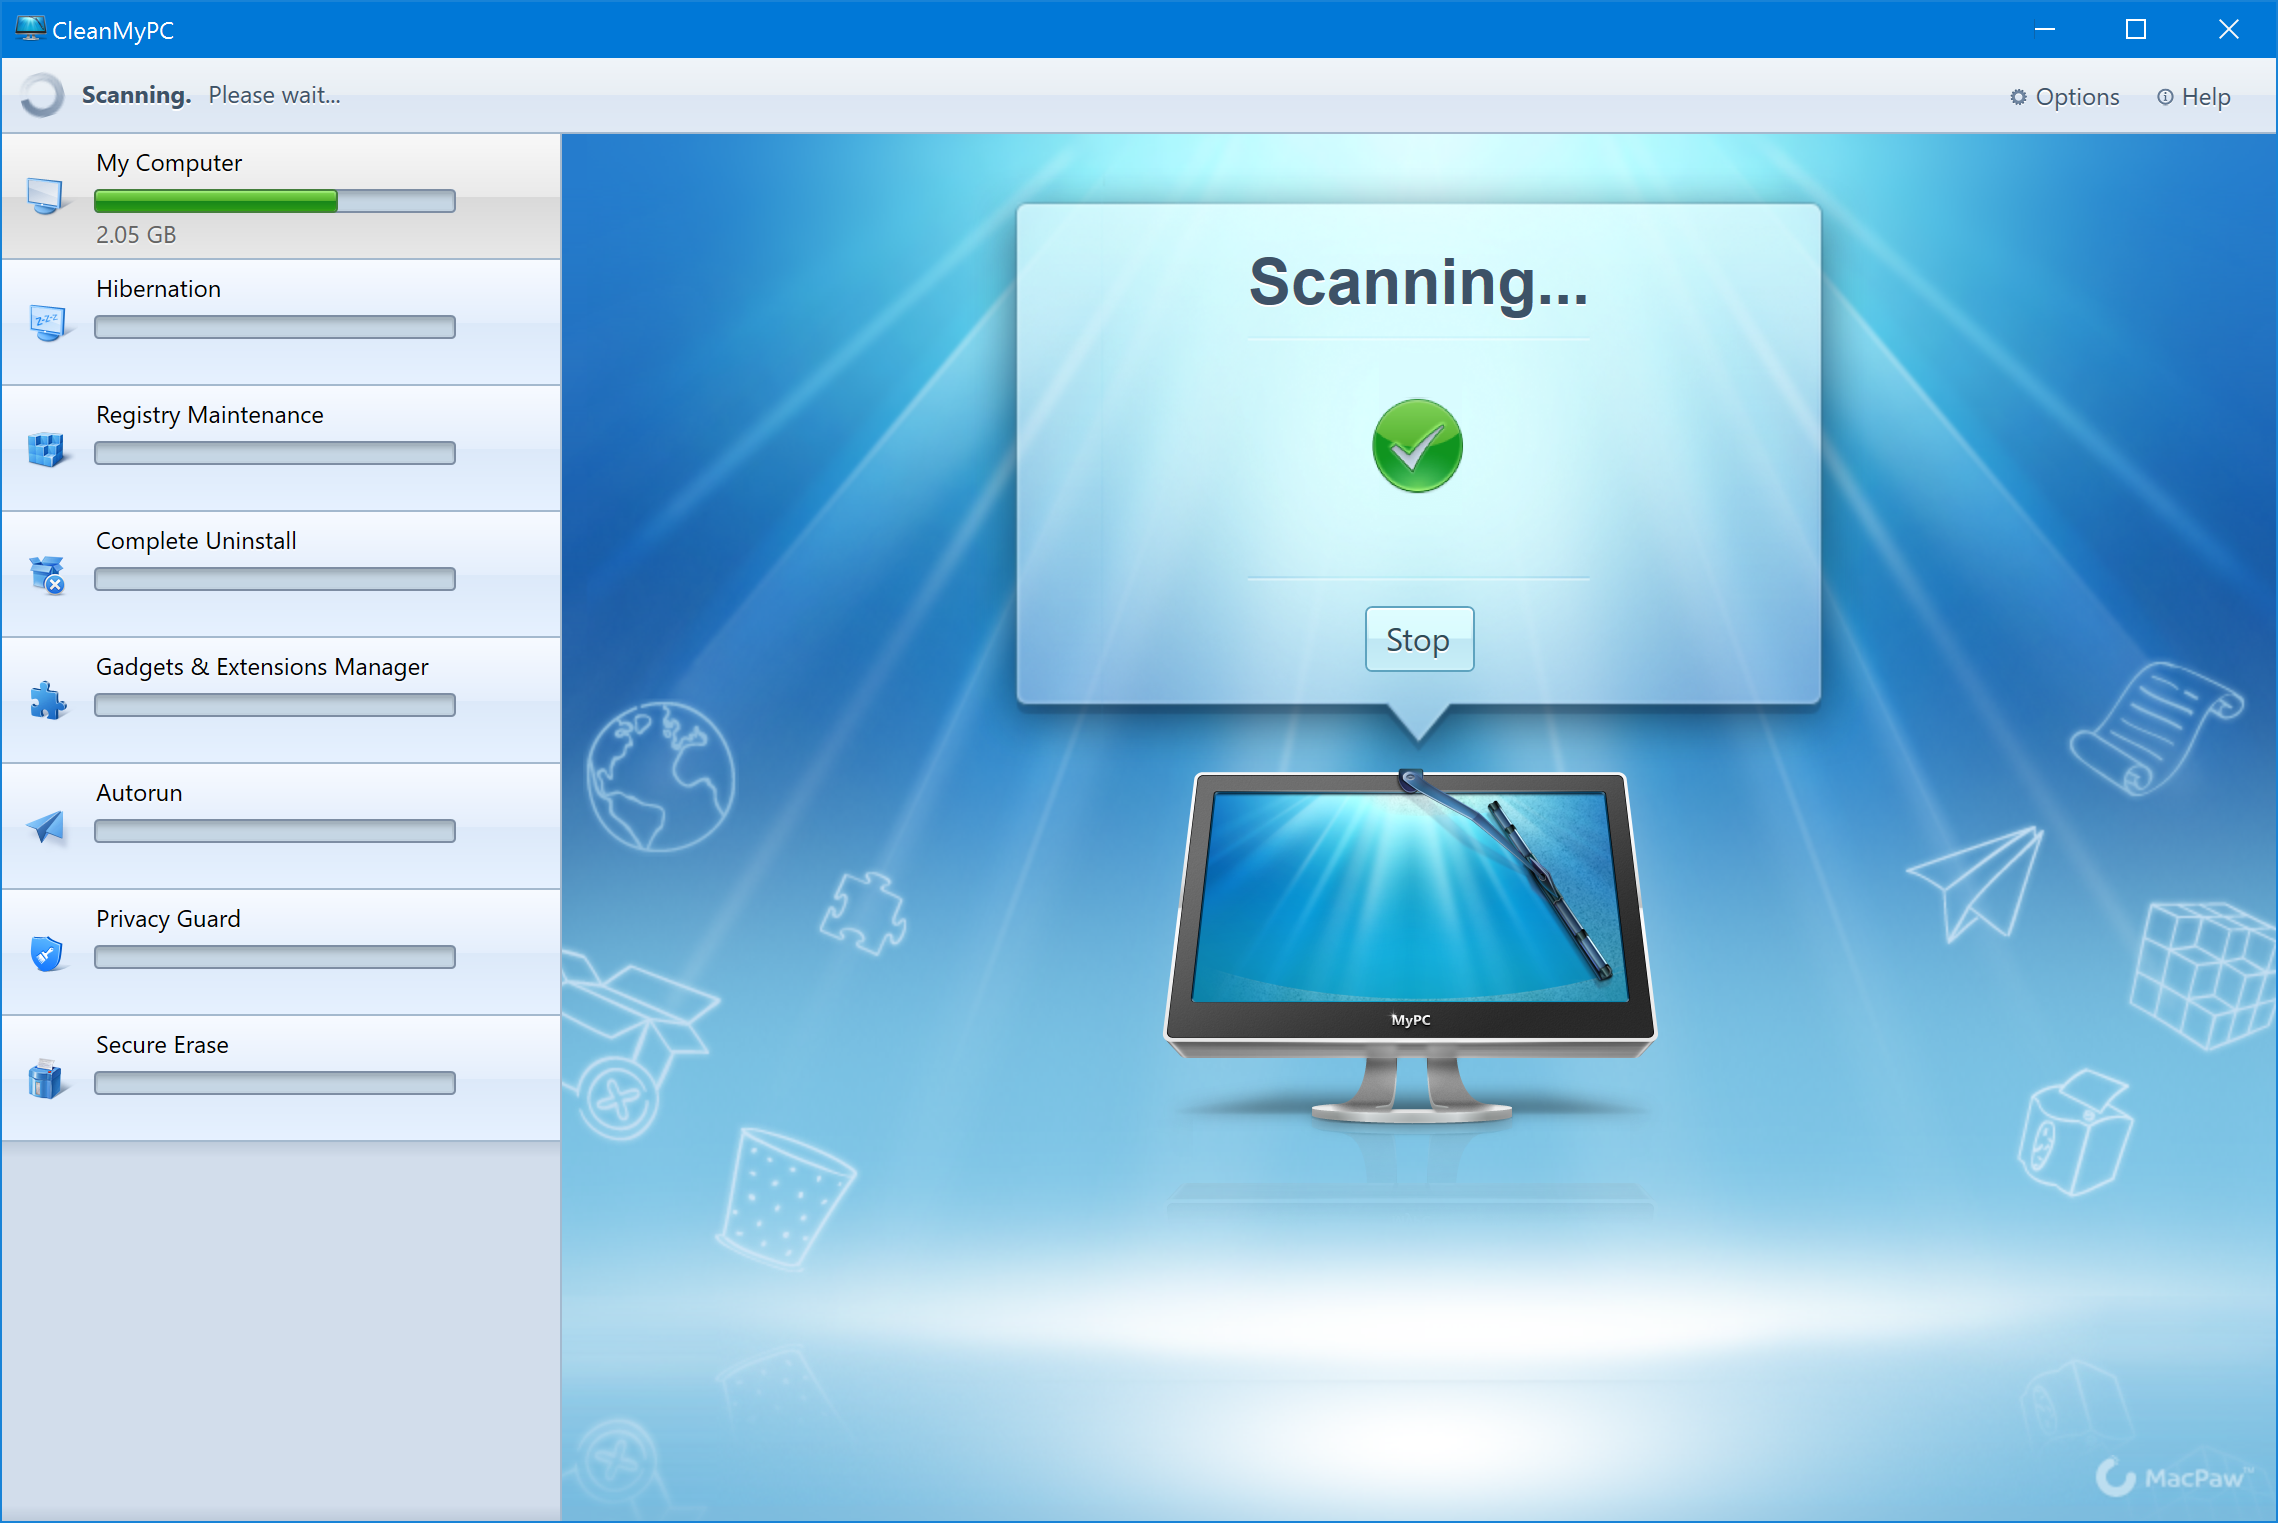
A free, but less user-friendly, alternative is CC Cleaner . CC Cleaner performs more or less the same features as CleanMyPC minus the built-in uninstaller.
2. Find and disable resource-intensive programs
The most common reason responsible for sluggish PCs is a very simple one: there are too many processes simultaneously running in the background. Over time, these can accumulate to such a degree, that the computer becomes noticeably slower.
By contrast, sudden slowdowns are usually attributed to a single process hoarding 99% of the CPU, or an application that’s experiencing a memory leak and is using multiple times more RAM than otherwise necessary. Nonetheless, diagnosing and resolving the issue is the same.
Begin by pressing control + alt + delete on your keyboard, then click “start Task Manager” followed by “Processes.” Next, select the column headers marked “CPU,” “Memory,” and “Disk” to sort the list of processes by the amount of resources consumed. Pay particular attention to the number listed beneath the “Memory” column. If something sticks out as consuming a disproportionally higher amount of resources, consider closing manually, or if not possible, select it and click “End Task.” Windows 8, 8.1, and 10 features an upgraded Task Manager that color-codes high-consuming applications, making them even easier to spot.
3. Disable startup programs
While the Task Manager approach resolves immediate performance issues, it won’t guarantee that the issue won’t reoccur upon rebooting. For that, Windows 8, 8.1, and 10 include a new feature baked right into the Task Manager that enables you to disable startup applications from a single interface. Just click the “Startup” tab to view the complete list, as well as a description of each item’s impact.
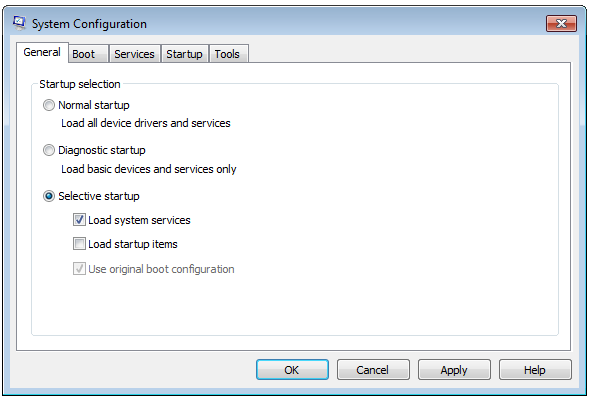
Users of Windows 7 and XP lack this built-in luxury and instead have to bring up the “System Configuration” window manually by clicking Start and typing “run” into the search field. Once the run command has launched, type “msconfig” and click OK. Here you can view and disable/enable all start-up programs and services under their respective tabs, or choose “Selective Startup” and then unclick “load startup items” to disable them en masse. Disabled items will refrain from automatically launching during future reboots, until manually opened.
4. Close system tray programs
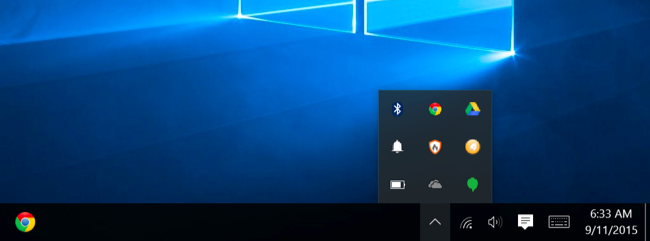
If step 3 rests outside your realm of expertise, then a simpler approach worth considering is to simply shut down the programs that appear in the system tray when clicking the arrow in the bottom-right corner of your screen. Anything listed here is currently running in the background, using up resources. Right-click the icon and select close/exit to shut down.
5. Reduce animations
Unless your computer’s specs are a sliver short of the minimum requirements necessary to run the Windows OS, you won’t have to worry about step 5. Nevertheless, the Windows OS uses a fair number of animations and disabling them could optimize performance in older machines. Right-click the Start button and select “System.” Afterward, proceed to the “Advanced System Settings,” followed by “Settings” under the “Performance” section. Choose “Adjust for best performance” under Visual Effects to disable all animations, or customize individual actions under Custom.
To access this section from Windows 7, open the Start menu, right-click on Computer, and choose Properties. From there, select “Advanced System Settings” and follow the same routine outlined above.
6. Clean up your web browser
Web browsers are some of the worst memory hogs whose consumption increases with each opened tab or plug-in enabled. To verify exactly how many resources we’re talking about, just fire up the Task Manager as previously discussed, and select the “Memory” header under the Processes tab.
Generally speaking, it’s a good idea to minimize the number of tabs and browser extensions you’ve got open. Also, consider enabling the “click-to-play plug-ins” feature in the browser settings to prevent Flash from automatically loading.
7. Scan for malware and adware
In some instances, malware and adware running in the background may be hindering your performance far more than the number of listed background programs should allow. These may not deliberately be malicious, but may interfere with your web browsing by inserting trackers and ads — remember Banzai Buddy from the early 2000s? As these cannot simply be disabled through standard methods, you’ll need to scan your computer with a trusty antivirus in addition to Malwarebytes , a free-to-use software that catches “potentially unwanted programs” (PUPs) that are otherwise ignored by most antiviruses.
8. Perform a disk cleanup
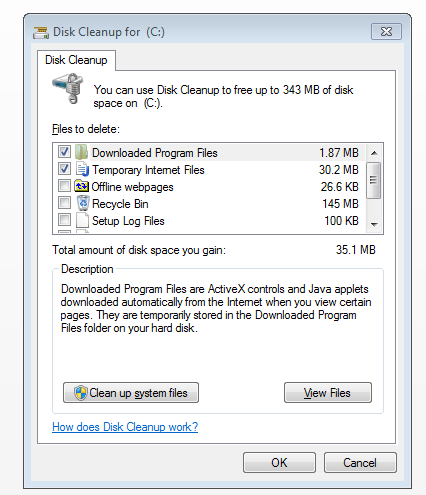
If your storage space is running close to full, then a good old-fashioned disk cleanup may be all you need. Limited storage space hampers applications that frequently read and write to the disk, so initiate a disk cleanup by clicking the Start button and typing and selecting “disk cleanup” in the search field. Allow the process to completely scan your hard drive, then select whichever files you wish to delete.
9. Defrag the hard drive
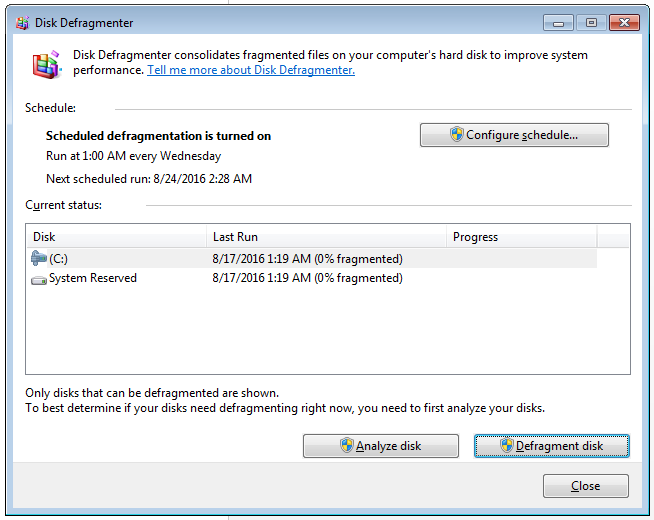
Computers equipped with solid-state drives as storage devices don’t need defragmentation. But if you’re rocking a classic mechanical hard drive and have recently moved around a huge chunk of files, such as the movies and music that you didn’t really illegally download, then periodically defragging the drive boosts its performance; the same thing applies to external storage drives. Later versions of the Windows OS perform this function automatically, but older versions require manual input — no problem. Just type “Disk Defragmenter” in the search field of the Startup menu, then select the intended drive and click “Defragment disk.”
Step 10: Uninstall programs
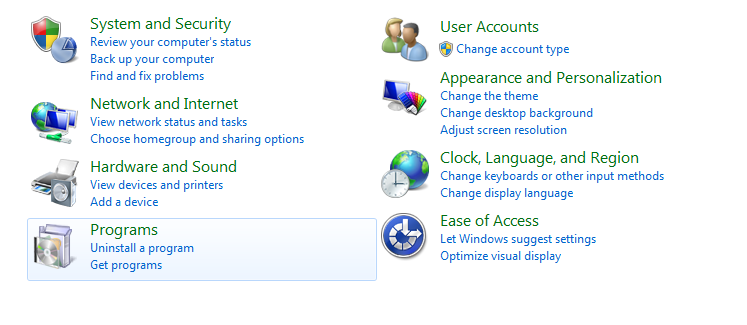
Lastly, you may as well clear up additional disk space by removing unused programs. Click the Startup button, follow by Control Panel, and “Uninstall a program.”
Worst case scenario; reinstall Windows
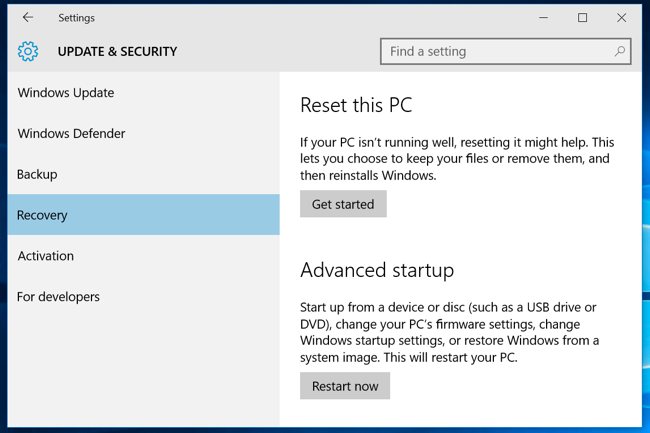
If the steps above haven’t significantly sped up your computer, then it’s time to consider the timeless solution of reinstalling Windows. With Windows 8, 8.1, and 10, you don’t even need to boot from the disk anymore, as they offer a “Reset this PC” feature built right into Windows.
Source: Howtogeek
Advertisement
Learn more about Electronic Products Magazine


