By Lori O'Toole  Image Credit: Amazon.
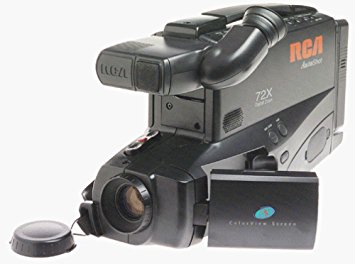
Does this image take you back? Once a staple for most ’80s and ’90s families, it’s certainly been a long time since we’ve seen the VHS camcorder in action. And after the cessation of VCR production last summer, the extinction of the VHS tape is imminent. This means that one day in the future, when the last VCR on Earth stops working, home movies will be rendered unwatchable. My legendary elementary school talent show performances and Christmas mornings will just be memories in my head, and that’s tragic.
Or maybe our home movies can go digital. Retail stores such as Costco and Walmart offer VHS-to-DVD services at a hefty price of $20 to $35 per tape, and online services such as YesVideo and Legacy Box will allow you to store movies on their cloud. While these solutions work, if you want to avoid replacing tapes with DVDs or having to figure out how to download a video, there is a way to transfer your home movies onto a computer (don’t try this with bootlegged movies; it isn’t worth the potential legal trouble).
What you need
- A VCR (if you need to purchase one, new and used machines are still easy enough to find online)
- A Mac or PC with a DVD drive to install the software (if it does not have this, an external DVD drive will suffice)
- An analog converter for your computer
- Optional: An external hard drive if you plan to digitize a lot of footage so as not to max out your computer’s built-in storage
Transferring your movies to the computer
- Plug the USB side of the analog converter into the computer and the three plugs into the VCR, making sure to connect them to the output option and match the colors. You may need an adapter that comes with the converter.
- Install the drive and editing program that came with the converter.
- Insert a VHS tape into the VCR, pause the video, and adjust the capture settings and destination folder on your computer using the program that you just installed (recommended file formats: .MPG, .MOV, or .MP4).
- Queue up the VHS tape to the part that you want to transfer.
- If you can see the video playing on your computer, press the record button on the screen and play the tape on the VCR for as long as you want the clip to be. Be aware that fast-forwarding, pausing, or rewinding the tape on the VCR will also be captured on the digital clip.
- Once you have finished recording, label your clip and send it to the folder that you have selected.
Repeat as often as desired. As for storage, you can, of course, keep the files on your computer or move them to a USB or external hard drive. And if that isn’t secure enough for you, you may want to upload them to a cloud-based storage service such as Google Drive, Apple’s iCloud service, or even Dropbox. All have monthly fees, but Google Drive gives you up to 15 GB of free storage, and iCloud provides 5 GB.
Basic editing programs such as iMovie or MovieMaker will allow you to combine your clips into one movie. This means that I can combine all of my talent show performances to showcase how I progressed over time as a singer and dancer (and, thus, making it flagrantly obvious to viewers why I grew up to be a writer instead).
Have a nice trip down memory lane!
Source: CNET
Advertisement
Learn more about Electronic Products Magazine


