By T.K. Hareendran, Contributing Editor

One common trend that we see come up in the electronic developer's world is the extended use of single-board computers (SBCs) for experimenting and developing innovative applications. SBCs are available in a wide range of models and offer a complete system for easy rapid prototyping with minimal hassle. A noteworthy addition to the series is the Sparky SBC from Allo-India, which can make getting started even easier.
Key features
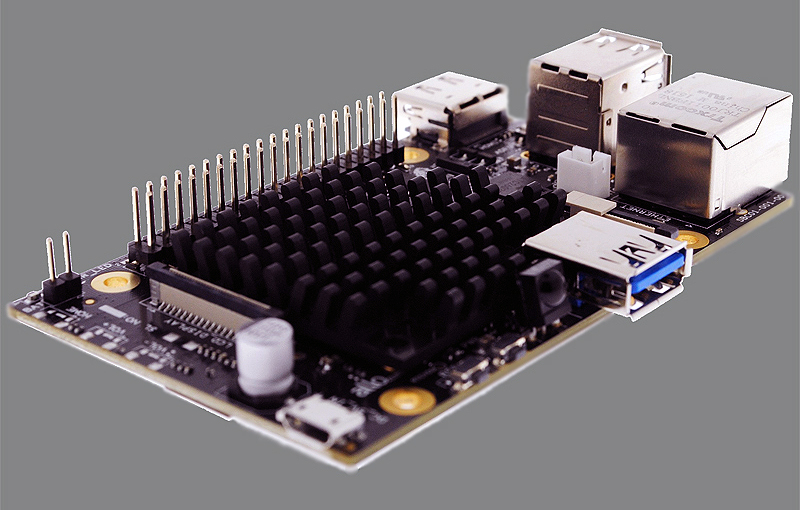
Sparky is a credit-card-sized (95 x 58 x 16-mm), highly integrated, open-hardware SBC that is based on an ARM application processor. It currently supports both the Linux and Android operating systems, functioning as a standalone computer, a controller in electronics projects, or in many other applications — games, media players, and home automation.
The key features listed for the Sparky SBC include:
- ARM Cortex A9 Quad Core Processor (1.1 GHz)
- 1GB DDR3L RAM
- PowerVR SGX544 (500 Mhz) graphics processing unit
- HDMI-MIPI display interface
- On-board single-port fast (10/100 Mbit/sec) Ethernet port
The Sparky SBC also offers most other popular interfaces, including:
- A microSD slot
- 24-pin 5-Mpixel camera interface
- Infrared Receiver Interface
- LCD Panel Interface (34-pin)
- USB 3.0 port
- A pair of USB 2.0 OTG ports
There are also some LEDs and buttons, optional NAND or eMMC expansion, a 40-pin GPIO connector that is Raspberry Pi-compatible, and a special 50-pin telecom connector.
According to Gireesh Nair, Allo's pre-sales and service delivery manager, Sparky's 50-pin special telecom connector is there to support VoIP applications. Nair pointed out, for example, that Allo designed and launched a 100% open-source GSM Gateway using the Sparky SBC as the base board. The design employs the AirPrime GSM module from Sierra Wireless and acts as a standalone, fanless, and easy-to-install 4-Port GSM Gateway to bridge the gap between traditional telephone networks and VoIP networks.
GSM Gateways are but a single example of the wide-ranging applications that the Sparky SBC can power. By using the GPIO Header/RPi card connector, designers can leverage many of the Raspberry Pi HAT-compatible shields available on the market. In addition, Allo is offering a number of shields specifically for Sparky, including
- Audio amplifiers — 138-mW Direct Path stereo headphone amplifier with 102-dB signal-to-noise ratio, supporting 50-W output, and a stereo Hi-Fi amplifier using a 384-KHz/32-bit Texas Instruments DAC with integrated DSP running TI's PurePath software
- Camera — 5-megapixel autofocus
- LCD — 7- or 8-inch, 1024 x 600 touchscreen with high-end glass frame
- eMMC — 8GB, 16GB, 32GB, or 64GB eMMC flash
- Wireless — Wi-Fi, Bluetooth, and ZigBee
- Gigabit Ethernet (GbE) — 2x Gigabit Ethernet ports via USB 3.0
Out-of-the-box startup
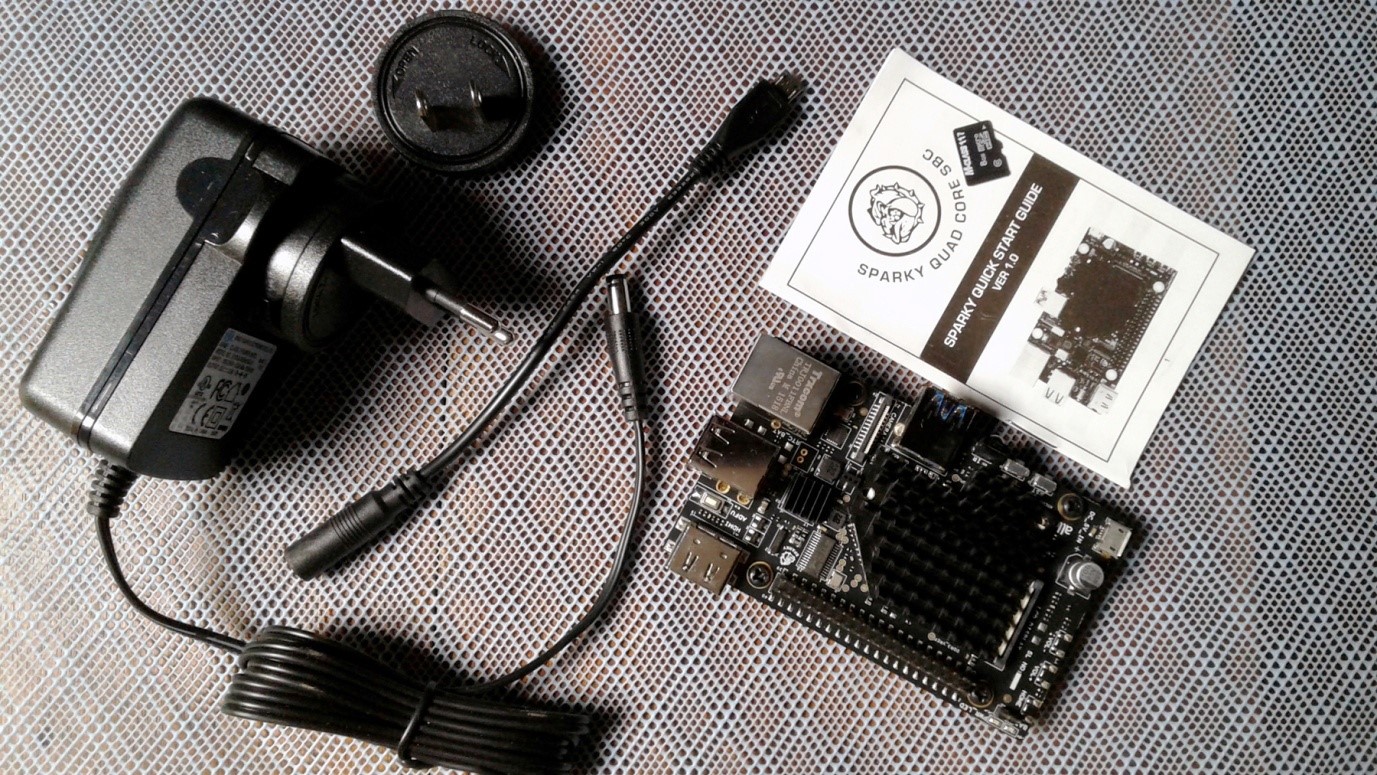
Allo usually ships all requisite components (with the optional 5-V/3-A micro USB power adapter) bundled in a single, cohesive deployment package. Because the “Sparky Quick Start Guide” provides easy-to-follow setup instructions, users can run their first test pretty quickly.

Before trying Sparky out, I was initially worried that the community support for Sparky wouldn't be as rich as that of the Raspberry Pi, leaving me minimal resources outside of the owner’s manual; I anticipated that getting the device working might require substantial effort and that I would have no one to turn to.
Ironically, the Raspberry Pi, with its composite video, is also a better fit for my situation. The Sparky SBC is designed to use HDMI, requiring either an expensive HDMI monitor or a television with an HDMI port. I had neither, and I anticipated a tedious time connecting a non-HDMI-compliant TV/ monitor with Sparky.
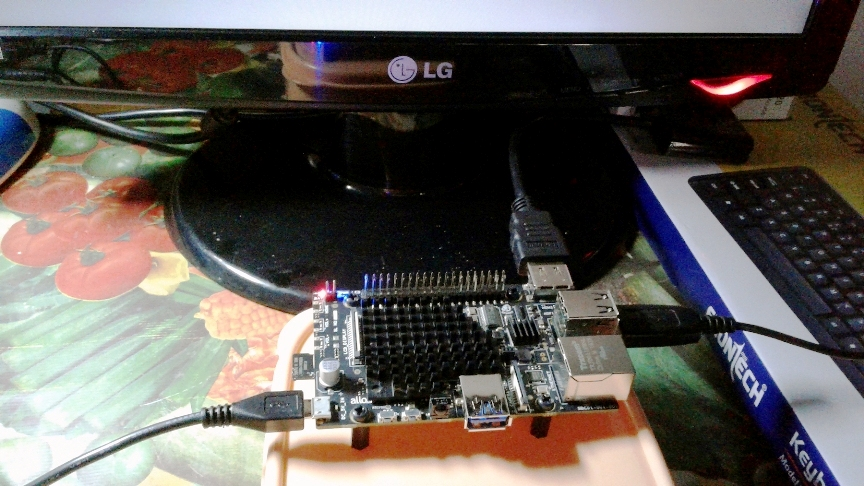
The fact is, however, that the Sparky SBC worked well right from the start. I did need to use an “HDMI-to-RCA” (TV) or “HDMI-to-VGA” (monitor) adapter to have a display, but that turned out to be a minor consideration. Similarly, the small-but-growing Sparky community turned out not to be an issue, either, as the available documentation proved entirely adequate for getting started.

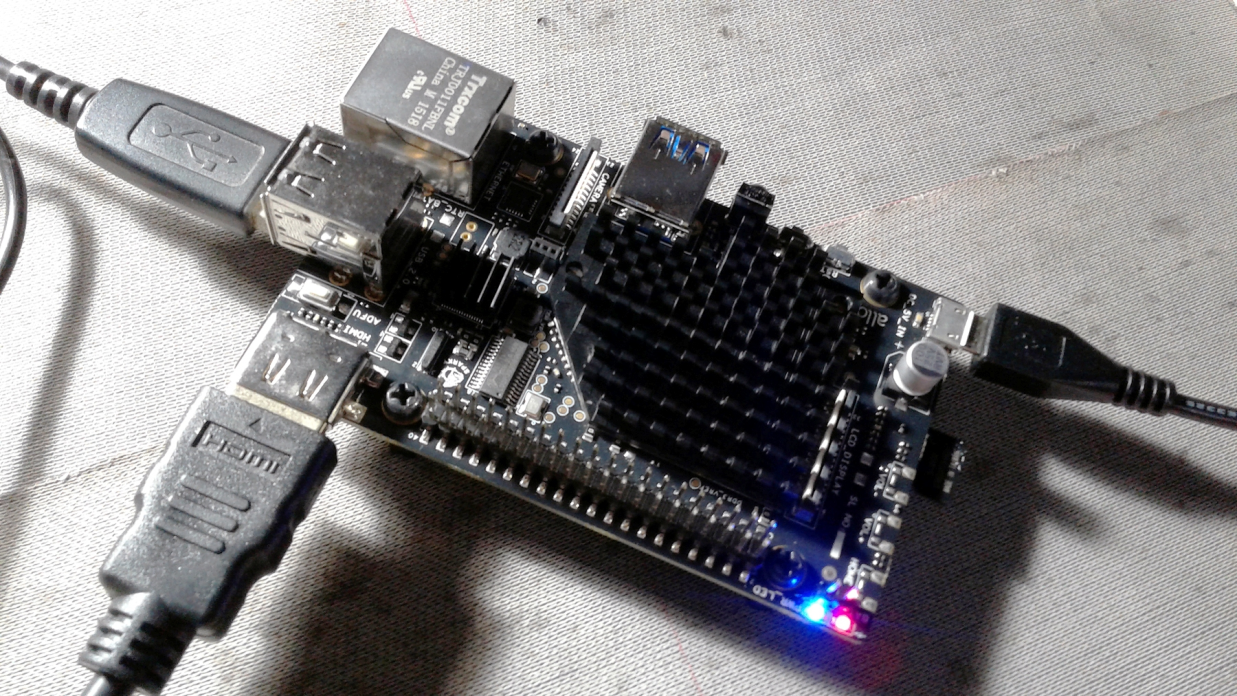
For those who have an HDMI-compatible television or monitor, Sparky is actually easier to get up and running than the Raspberry Pi. Just connect the HDMI cable, keyboard, mouse, and microSD card and power it up. Connectivity to the network can use the onboard Ethernet or an optional Wi-Fi adapter. I used the sparky_sd_ubuntu_060117 image for the operating system, which includes efficient Wi-Fi drivers and had no issues. My Sparky took less than 20 seconds to go from power-up to login prompt.
Sparky boots from one of two memory sources: the eMMC or an 8GB microSD card. By default, the eMMC is given boot priority, but users may also opt for the 8GB microSD card. To write the OS image (.img) into the microSD card, however, users should download the latest OS image from the Sparky website, format the card using “SD Formatter Tool” (4.0), and write the OS disk image to it with the help of “Win32Disk Imager tool” on a Windows PC (Linux users can refer to the instructions included in the Startup guide to prepare their SD).
Once the Sparky completes its boot process, a login prompt will appear on the connected display. The default login for Ubuntu is username “root” with “sparky” as the password. Upon login, a command-line prompt “root@sparky” appears on the screen.
Brand names make a difference
An important consideration when selecting the boot priority is that the quality of the microSD card affects the overall system performance, meaning faster cards directly correlate to faster performance. Allo recommends using a branded microSD card of at least 8GB (up to 32GB), with Speed Class 4 or above. Unbranded, generic memory cards may not meet that standard.
After my initial boot (vanilla install from the manufacturer’s site), I replaced the 8GB microSD with an inexpensive 2GB microSD card that I had lying around to observe the effects. It was already loaded with a minimal image of “DietPi,” an extremely lightweight “Debian Jessie OS” with images starting at 400 MB. DietPi’s inherent optimization for minimal CPU and RAM resource usage typically allows SBCs to run at their maximum performance level. However, I quickly discovered that card quality really did affect the boot process, either slowing it down or causing the boot to completely fail.

Closing thoughts
The Sparky SBC is an insightful, user-friendly platform characterized by compactness and simplicity. It should prove very helpful for hobbyists, makers, and designers by effectively letting you run a little Linux machine dedicated to a specific task for a very affordable price — less than $40 for a cheerful setup — with a minimal setup time.
Some potential project ideas suitable for Sparky SBC include making a high-end audio system for home entertainment, setting up a first-rate software-defined radio transceiver, or just connecting some hardware to the IO and being able to interface faster than a microcontroller could.
In my book, the Sparky SBC scores fairly well as compared to other SBCs that gained widespread acceptance among the open-source community. I am particularly impressed by its utility as a platform for audio and telecom projects. Given its low cost, ability to quickly get up and running, relatively smart performance, and GPIO compatibility with Raspberry Pi, this SBC should definitely be on your short list for upcoming experimentation.
Useful Links:
- Sparky SBC Home – https://www.allo.com/sparky/sparky-sbc.html
- Sparky SBC GitHub – https://github.com/sparkysbc/sparky_linux_images
- DietPi GitHub – https://github.com/Fourdee/DietPi
Advertisement


