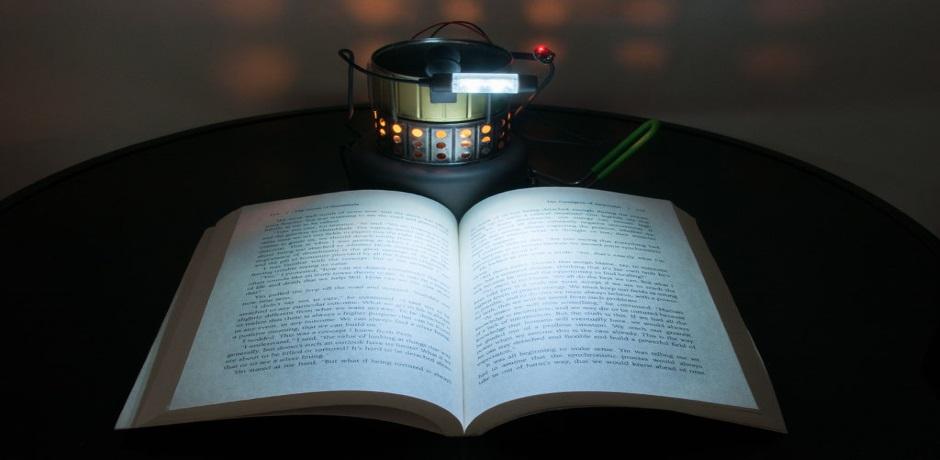
You may have encountered products from companies, such as BioLite, that offer devices which convert heat from fire into electricity. While this is rather neat, we’re makers around here, so we’re going to check out a how-to build from Joohansson.
The Peltier Element
Before we begin, we will need to brush up on how using fire to make electricity is actually possible and not just some sort of black magic. It all starts and ends with a device called the Peltier Element, which was discovered in 1821 by J.T. Seebeck. He observed that if two dissimilar metals are connected at two distinct points while they are held in different temperatures, then a micro voltage will develop; this discovery was aptly called the “Seebeck effect”.
Soon thereafter, another scientist discovered another phenomenon — a temperature gradient is created by applying a voltage between two electrodes connected to a semiconducting material. The discovery was made by physicist Jean-Charles Peltier and was from there on out referred to as the Peltier effect.

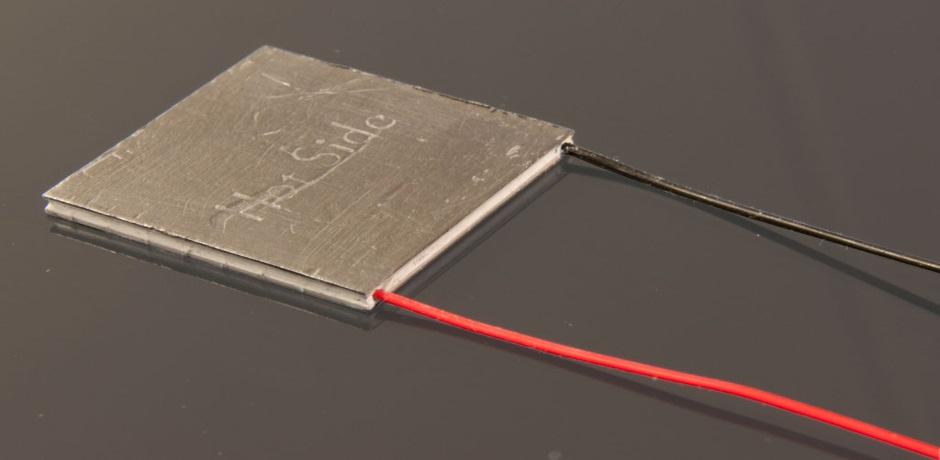
A Peltier element, better known as Thermo-Electric Cooler (TEC), is a device constructed out of two plates with thermocouples sandwiched on the inside. If a voltage is applied, one plate will cool while the other warms up.
The Materials

You will need a few things to accomplish this project. First you will need two tuna cans with flat bottoms and roughly 85mm diameters. One is for the water and the other sits above the candles. The size is crucial as it needs to hold up to three candles of the tea light variety. Grab yourself two 40mm by 40mm by 3mm sheets of aluminum, and your choice of LEDs (in this case Joohansson chose a USB notebook light). A voltage step-up is necessary to provide the appropriate power for the light, and we suggest one with a 1.5V-5V increase. Lastly, you will need a high-temp (200 deg+) thermal paste for better transfer between metals.

Assembly
Step 1: Prep Cans
● Remove labels with hot water
● Drill 54 6mm holes in one can
● De-burr sharp edges with file
● Remove varnish from cans with heat and steel wool
Step 2: Prepare aluminum distance plates
● Prepare one side of plate 1 with thermal paste
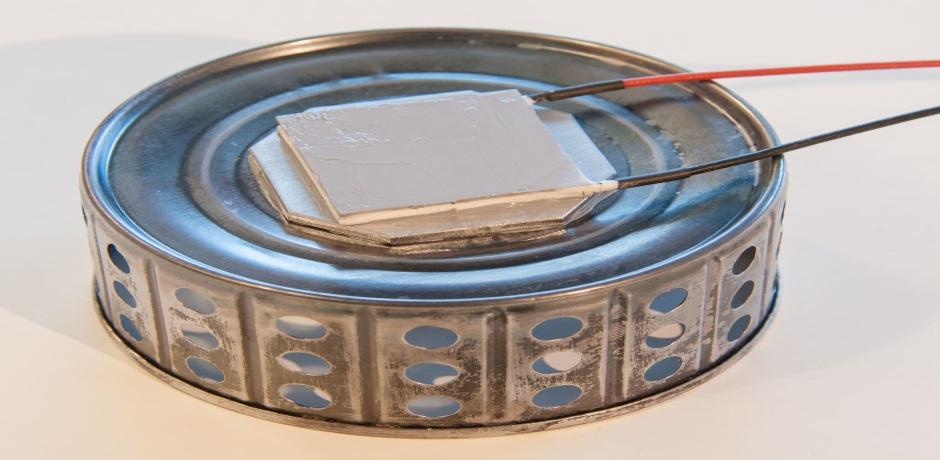
● Place plate 1 on top of can 1 (with thermal paste facing down)
– Optional: Prepare plate 1 with thermal paste (depending on what TEC/TEG you use)
● Place the TEG module on top of plate 1
– Optional: Prepare TEG with thermal paste (depending on what TEC/TEG you use)
– Optional: Place a thermal resistor on top of plate 1 if you want to monitor temperature
● Place plate 2 on top of TEG
● Prepare plate 2 with thermal paste
● Place can 2 on top of plate 2
● The order is: Can1-Paste-Plate1-Paste-TEG-Paste-Plate2-Paste-Can2
Step 3: Assemble Electronics
● Connect the two cables on TEG-module to your step-up booster (check polarization)
● Connect LEDs to output of step-up booster (check polarization)
Joohansson used a soldering iron and screwed the cables to a terminal block. The terminal block was glued to can 2.
Overall, this build is easy enough so long you’re good with a soldering iron. The full scoop can be found at instructables.com, enjoy!
Advertisement
Learn more about Electronic Products Magazine


