Ever take a look at a solar panel system and think to yourself: I could build that .
The truth is that you probably can. Building a cheap, solar panel system is a fun project to take on that if done properly, can yield some terrifically beneficial results. Here’s a basic how-to:
Step 1: Purchase solar cells online 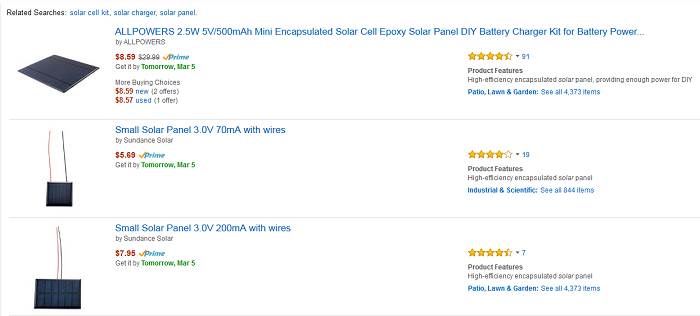
There are a bevy of online storefronts for purchasing solar cells, ranging from the more common and well-known names like eBay and Amazon, to specialist sites like SiliconSolar and WholesaleSolar.
Where you choose to purchase the cells is up to you and your budget. Solar cells produced in different parts of the world will have different prices and performance results. For example, solar cells from China will more than likely be lower priced with decent performance, but no long-term guarantee they’ll work, whereas those produced in the US will be much more expensive, but come with them better performance results and guarantees.
And that’s not even getting to all of the different types of solar cells available: monocrystalline, polycrystalline, copper indium gallium selenide, and more.
At the end of the day, you need to do your research, determine your expectations, and set a budget. But if you want a general guideline, do know that cells shouldn’t sell for more than $1.4 per watt, you should purchase a few extra because they’re incredibly fragile (and if this is your first time doing this, you’ll likely break a cell or two), and more often than not, your best bet is to go with polycrystalline cells.
Step 2: Gather your tools together
Once you’ve received your solar cells in the mail, you’ll want to gather the following tools: solder iron, solder, solder paste, saw, wood board box, protective glass, multi-meter, pencil, and ruler.
Step 3: Paint the wood box, and measure your solar cells out
You’ll want to paint the wood box into which the solar cells will be mounted to protect it from the outdoor elements. Consider using white or reflective colors since this’ll keep the box cooler (which, in turn, will help the cells perform better). Make sure to pick paint designed for outdoor use.
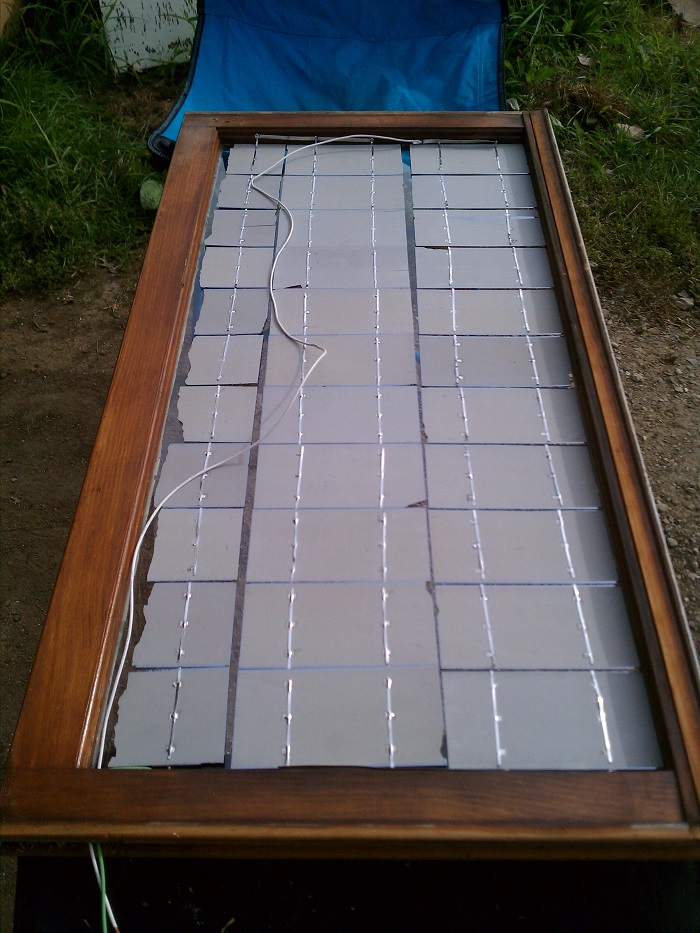
Once the paint has been applied and is dry, carefully place the solar cells on the wood board and pencil in separating lines. Plan to put the cells in long rows, with a fewer number of total rows — for example, three rows each consisting of 12 cells placed long side-to-long side is a good layout.
Make sure to leave an extra inch or two at the ends of the boards, as this space will be used for the wires to connect the rows together. Take care not to lean on the actual cells, as they’re very thin and can break easily.
Step 4: Wire the system together 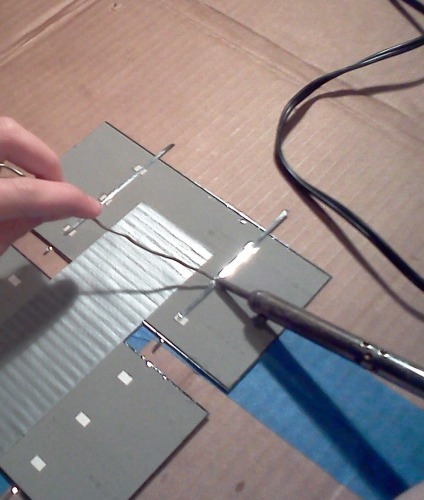
Solder tabbing wire to the solar cells, and then connect them to one another. Take your time as soldering is a tricky chore. If you’re just starting out with soldering, a good trick is to start out with two cells upside down, positioned so the solder tabs of one cell cross with the solder points on the back of the other cell. Pay mind to make sure the spacing between the cells matches with the pattern of your traced out grid.
Link the cells in series by soldering the positive lead of one cell to the negative lead of the next cell — do this for as many cells as you need to in order to reach a voltage of either 12 or 24 volts. Anything beyond this can be dangerous, and all you need is 12 volts to start a 12V inverter for generating 110/220V AC, or enough energy to power 12V battery packs. By linking the cell in series, you will be increasing the voltage of the system.
In terms of amperage, you’ll need to make connection buses along the positive and negative leads. Connect these buses using thicker wires in parallel (plus to plus, minus to minus). By linking the cells in parallel, you will be increasing the amperage of the system.
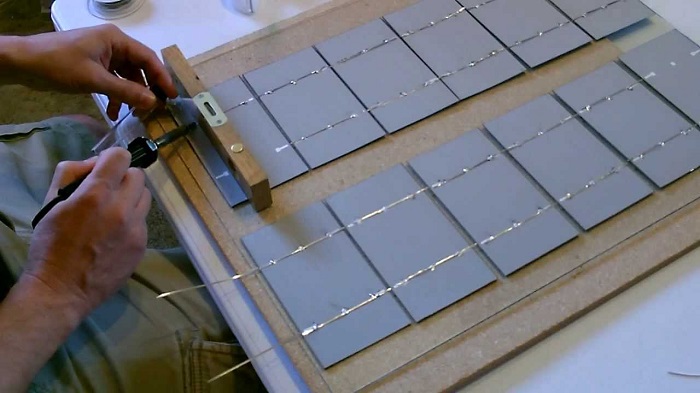
Here’s how: starting with the first row, solder tabbing wire to the front of the first cell. It should be about an inch longer than needed, and extend towards the extra gap on the board. Connect the first row using bus wire, and solder the two wires together with a piece of bus wire, the same size as the distance between the thick lines of the cell.
Now move on to the second row and connect the end of the first row to the beginning of the second with a long piece of bus wire that extends between the two far thick wires (the one at the edge of the panel and the second being the furthest away in the next row). Here, you’ll need to prepare the first cell of the second row with extra tabbing wire, as you did with the first.
Now connect all four wires to this bus wire.

Continue connecting the rows with one another via the long bus wires until you reach the end, where you will connect it with a short bus wire again.
Now connect the final bus wire to a diode, securing it with some silicone. The white-striped end of the diode should be pointing towards where the negative end of the battery (or device) goes. The other end should be wired to the negative end of your panel. Doing this prevents energy from travelling back through the solar panel from the battery when it’s not charging.
Connect the wires by connecting a black wire to the diode and running it to a terminal block which you will need to mount on the side of the box. Then connect a white wire from the short bus wire on the opposite side to the terminal block.
Next step is to connect your panel to a charge controller, making sure to connect the positive and negative correctly. Run the wires from the terminal block to the charge controller using color coded wire to keep track of the charges.
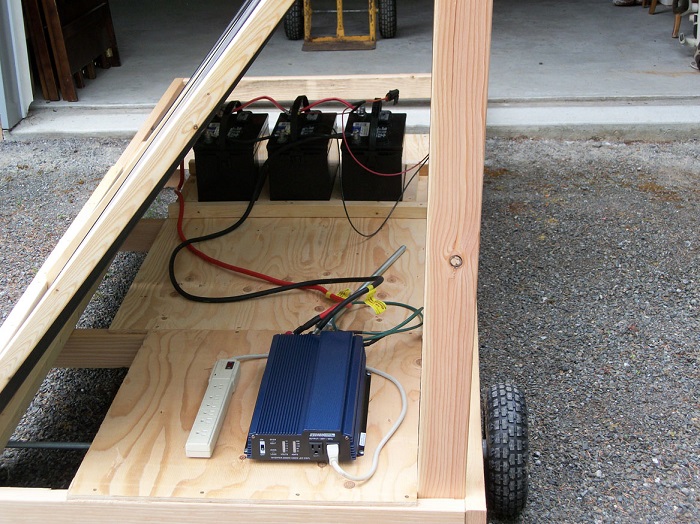
Connect the charge controller to your battery / -ies.
Step 5: Glue the cells to the board
Put a very small amount of glue at the back center of the cells and press them into place on the board. Check to make sure the wire is coming up between the cells, and that it’s free to move; make sure the cells are secure and facing upright.
Step 6: Test, measure, and adjust (as needed)
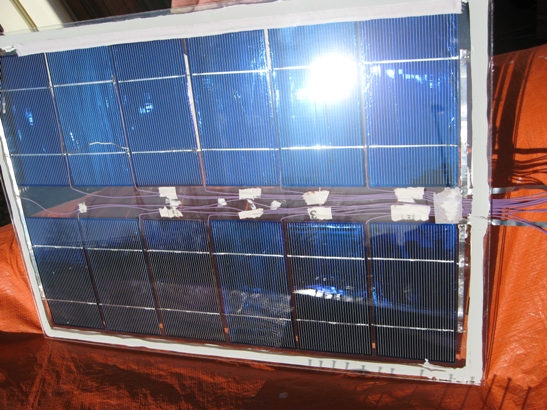
Put your solar panel system under some sunlight. After giving it some time, use a multimeter to measure the voltage and short-circuit amperage. If the system is operating properly, the ammeter should bear the solar cells’ nominal power (ex. 108W at 12V means 9 amps).
Assuming the system is working, you’ll want to seal the panels. Place a piece of plexiglass atop the wood board to box in the solar panels. Seal the box using a silicone sealant to seal the edges of the box. Also seal all gaps you come across as the box needs to be as watertight as possible. When complete, carefully screw the plexiglass into the wood along the edges. Do not get too close to the edge when doing this, as it’ll cause the glass to fracture.
As far as power source storage, while you can use lead-acid type of batteries, it’s best to purchase batteries specially designed for power storage and deep cycle use.
In terms of an inverter, you can use a computer’s uninterruptible power source (UPS), which can be purchased online through numerous web sites.
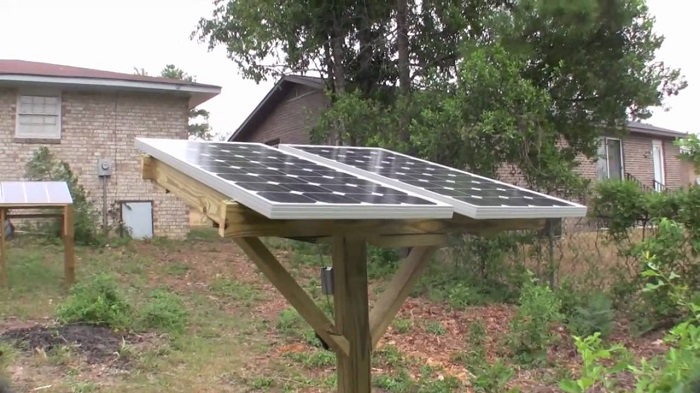
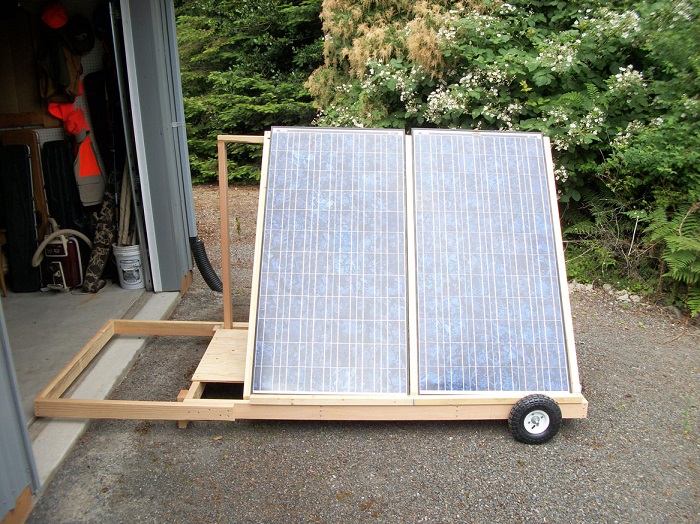
When complete, mount the solar panel. Since this is a starter system, your best bet is to mount it on a wagon car so that you can easily move the system around your property depending on the time of day in which you plan on using it.
All in all, you’ll want to spend about $200 on solar cells, and roughly $400 on batteries. A UPS purchased online will cost less than $100, but if you want a true inverter, a good example is the Aims 800-watt modified sine waver inverter, 12 volts, which can be purchase for $65. So, a $500 investment into this DIY project will provide you with your very own 200-watt solar panel system.
For those curious, to power one’s home, you’ll need to invest approximately $1,000 into this project; this, as opposed to the $10,000 to $15,000 being charge by solar power utility companies today.
You can order some more solar cells to reach the power you want for the system, otherwise, the system as is can power anything that urns on DC current. Should you choose to add more solar cells, do be aware that if you want more power, you’ll need a larger inverter.
Advertisement
Learn more about Electronic Products Magazine


