Did you know that it’s possible to construct a ground terminal using nothing more than a few common materials found around the house? This is particularly useful for the tech hobbyist working on a microcontroller project, whose progress is hindered by the limited number of ground pins available with their board.
For beginners, it’s worth noting that the purpose of terminal blocks is to essentially simplify a circuit and help provide a secure point of electrical connection; it’s also useful in the sense that it serves as a meeting point for the countless number of wires within a circuit.
There are different options out there – you can connect all of the circuit’s ground wires to one terminal, or build multiple, electrically connected terminals for each component; the latter option does cost some money, though it’s not a terribly high amount (starts at about $5 on Amazon).
The following are instructions on building a single ground terminal:
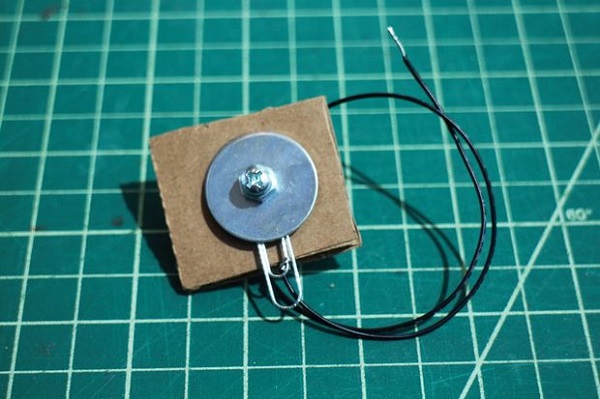
The materials you need include a piece of cardboard, sized one-inch by one-inch, one metal paper clip, one bolt (size doesn’t matter), two washers, two nuts, and one strip of wire.
Begin by poking a hole in the center of the cardboard; ensure that he hole is smaller than the size of the bolt. Next, place one of the washers onto the bolt, then add the paper clip; now add the second washer. Push the three pieces up to the top of the bolt and add the nut to the bottom of the bolt; twist the nut until it secures the washers around the paper clip.
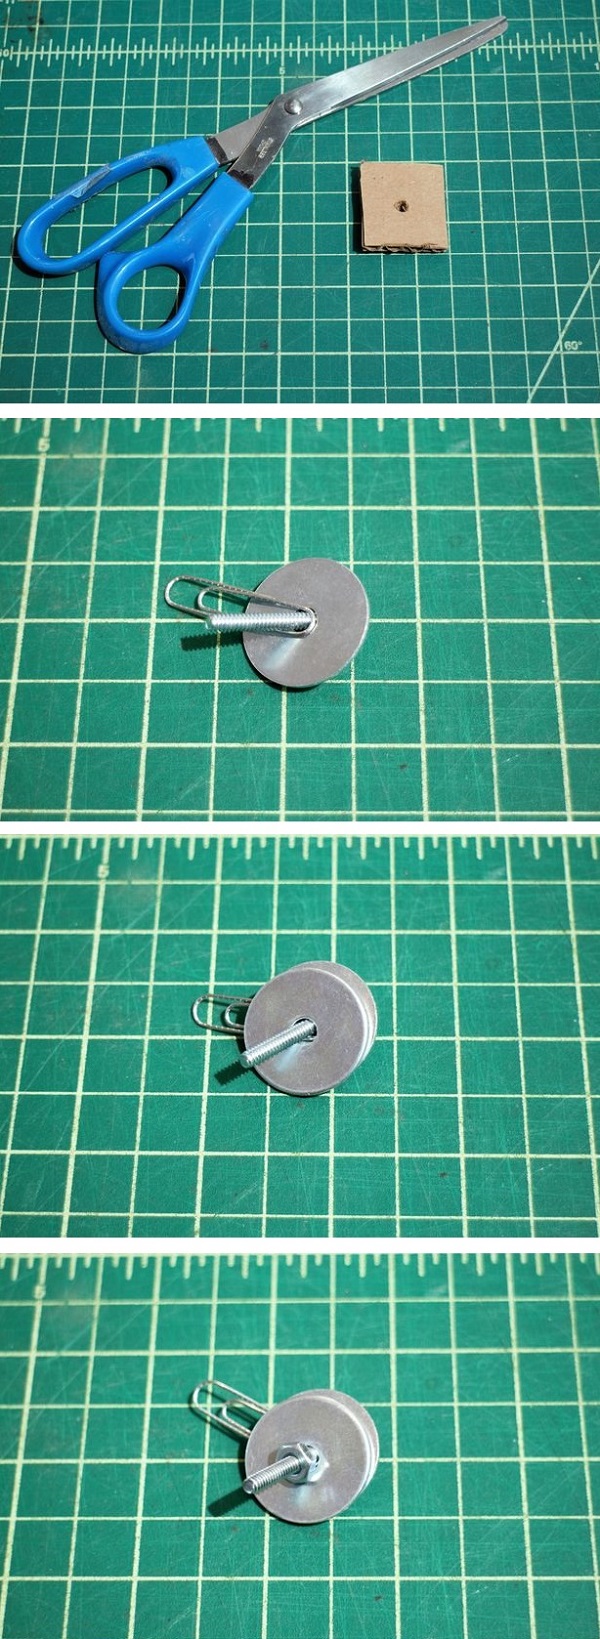
Push the bottom of the bolt through the cardboard’s hole and attach the second nut to the bottom of the bolt; again, twist the nut until it secures the bolt to the cardboard.
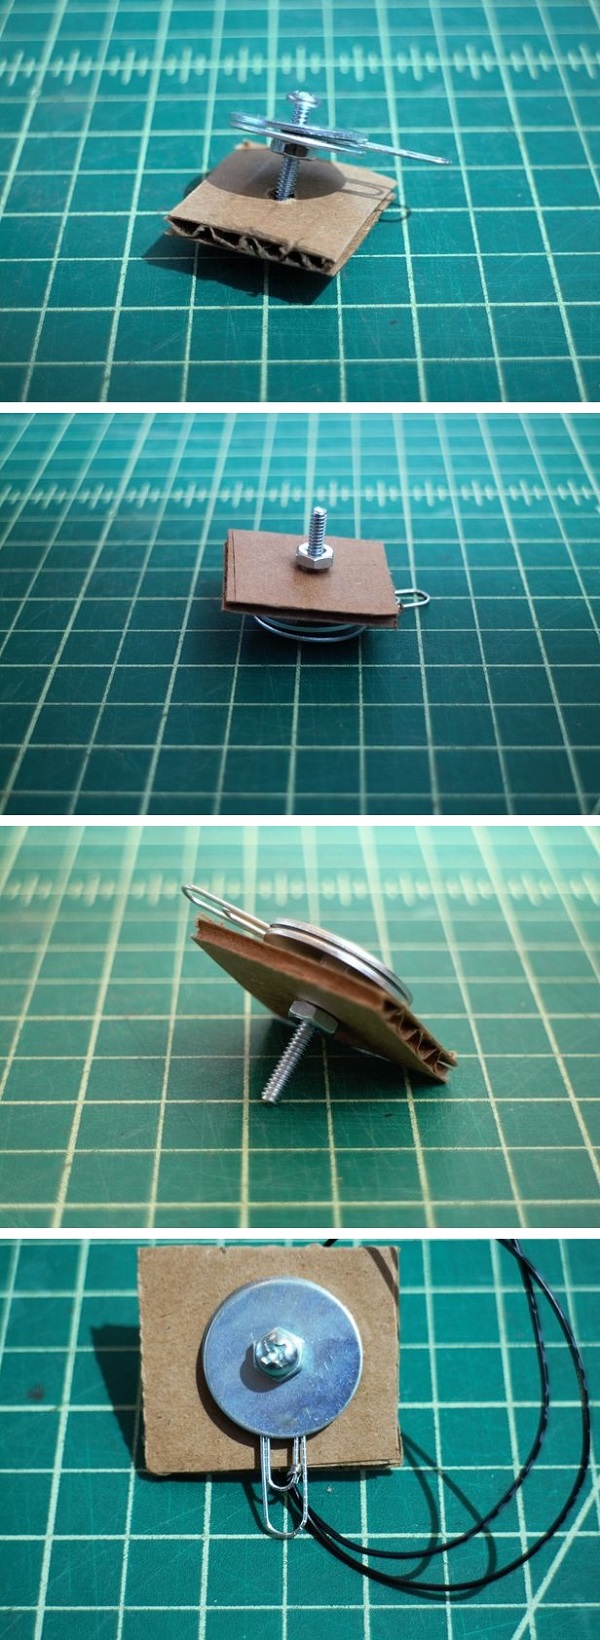
Now, add a ground wire to the paper clip. To ensure a true connection between the two pieces, twist the wire on using alligator clips. When the two are securely connected, connect the other end of the wire to the circuit’s ground.
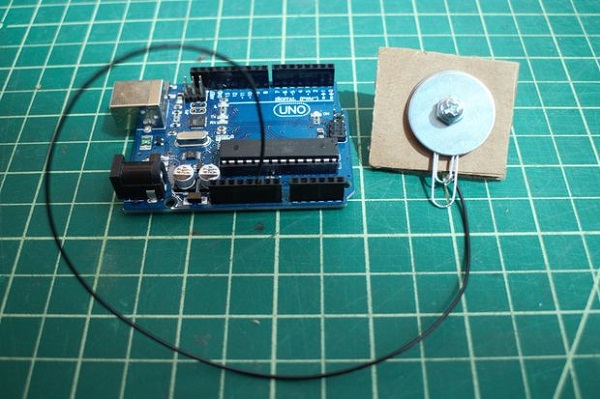
That’s it — in fact, you can repeat the steps with additional ground wires for each component within the circuit that has its own ground connection.
Happy making!
Advertisement
Learn more about Electronic Products Magazine


