This week’s DIY corner of the Casual Friday newsletter explores something a bit more risqué than our usual tech solutions, highlighting how to build a password-cracking rig on a “budget.” Why password-cracking? Because certain niche interest individuals find this sort of thing fun — for research or whatever — and because the project’s computer hardware configuration is something to admire.
The project comes to you from Netmux , a privately owned boutique security business founded by armed forces veterans. Designed for small- to medium-sized businesses and the cracking enthusiast, the rig sets you back about $5,000 — which isn’t too costly of a price point in the specialized realm of brute-force password cracking. After all, the next step up is a $20,000 machine called The Brutalis.
Netmux’s project strives to balance performance and cost, offering sufficient power to cover the cracking speeds of the most common hash types within one week’s time.
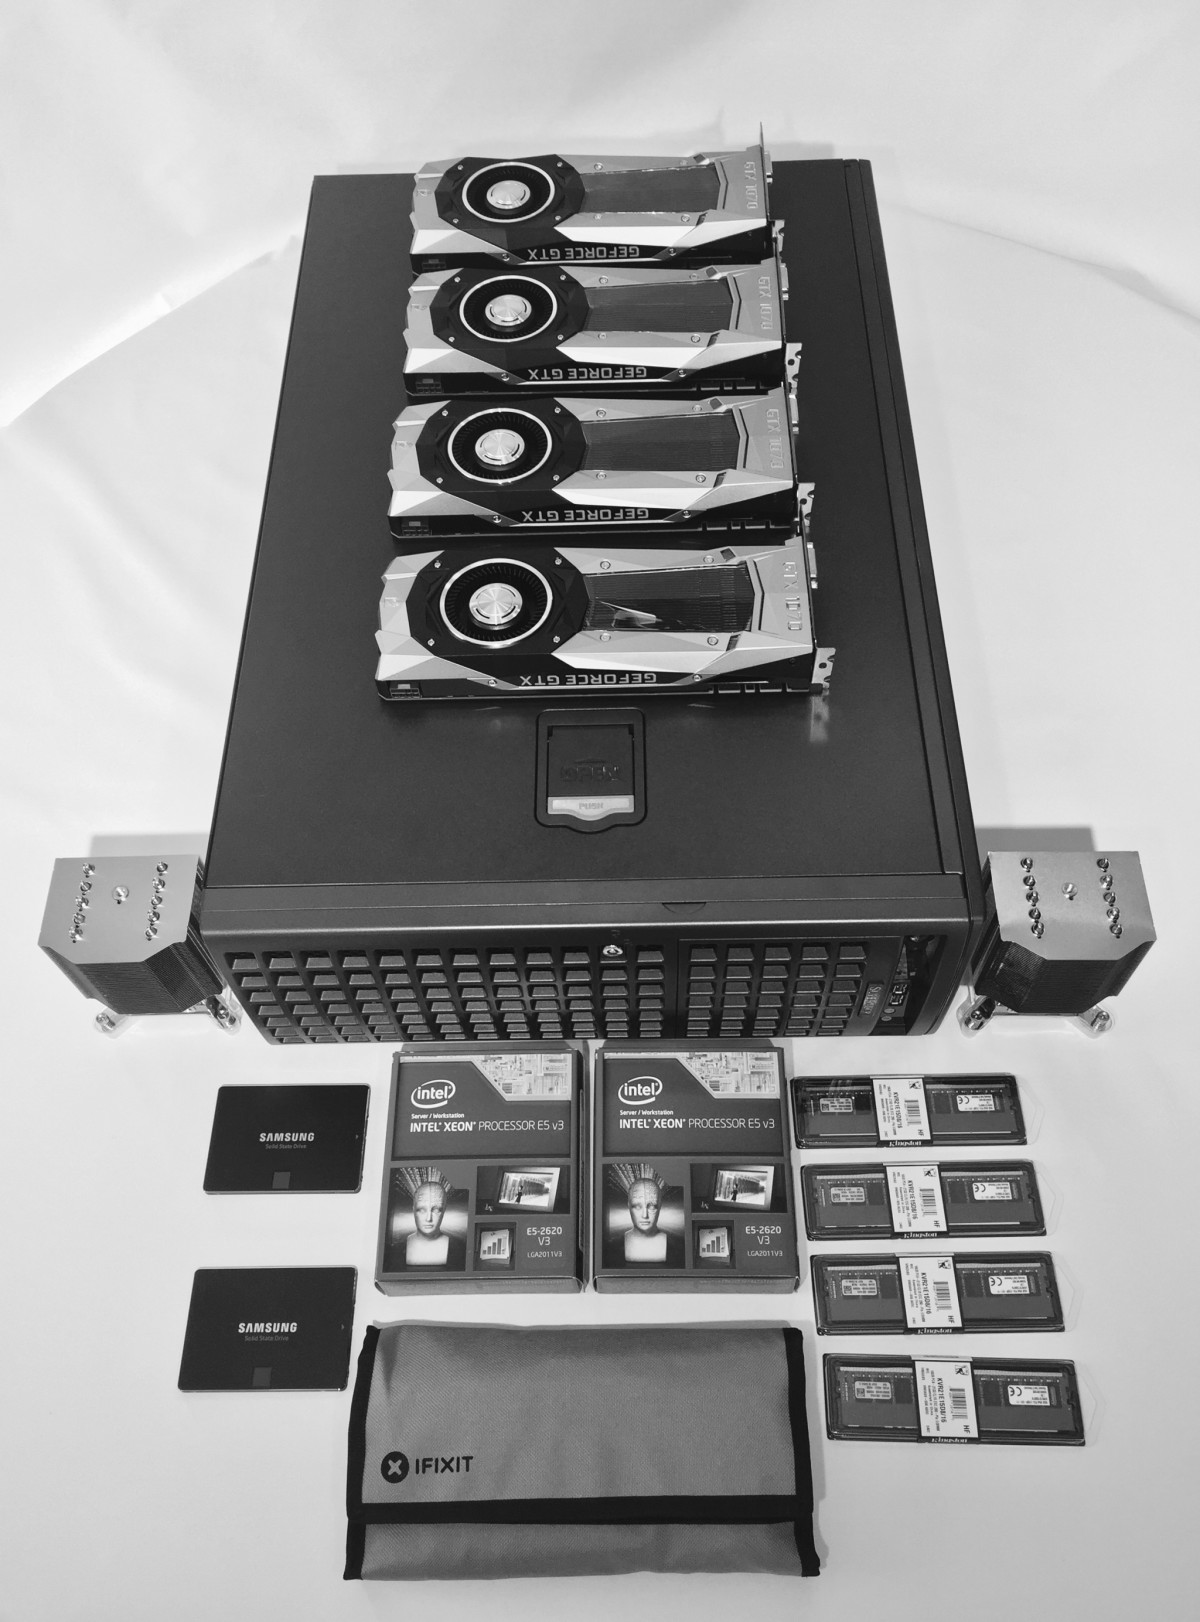
Here’s what we’re looking at, part-wise:
1 x SuperMicro SYS-7048GR-TR 4U Server with X10DRG-Q Motherboard = $1,989.99 (NewEgg)
2 x Intel Xeon E5-2620 v3 2.4 GHz LGA 2011-3 85W = $469.98 (eBay)
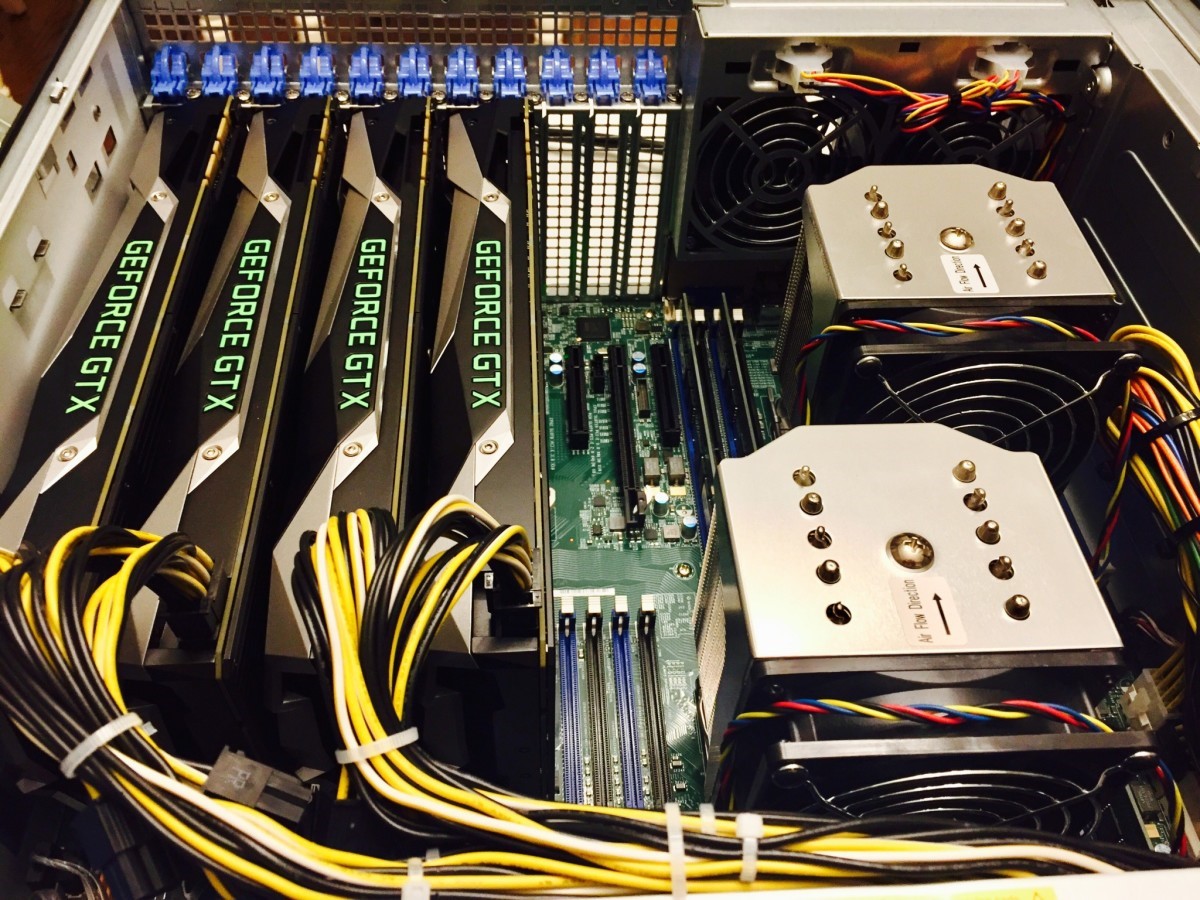
4 x Nvidia GTX 1070 Founders Edition = $1,737.14 (Jet.com)
2 x Samsung 850 Pro 512GB SATA3 SSD = $412.24 (Jet.com)
4 x Kingston Server ValueRAM DDR4 2133 MHz 16GB = $391.96 (NewEgg)
2 x WALI 2T3 SSD To 3.5″ SATA Hard Disk Drive HDD Adapter Caddy Tray = $22 (Amazon)
TOTAL = $5,023.31
“You're going to struggle to get that kind of multi-GPU performance from a gaming setup, so I chose the Supermicro workstation to foot the bill,” writes the Netmux team, justifying their choice in the costly SuperMicro SYS-7048GR-TR 4U Server over a standard multi-GPU motherboard used in gaming rigs. Performance aside, the SuperMicro’s chassis has room for multiple sticks of RAM, multiple swap drive bays, dual CPUs, and up to four double-width GPUs.
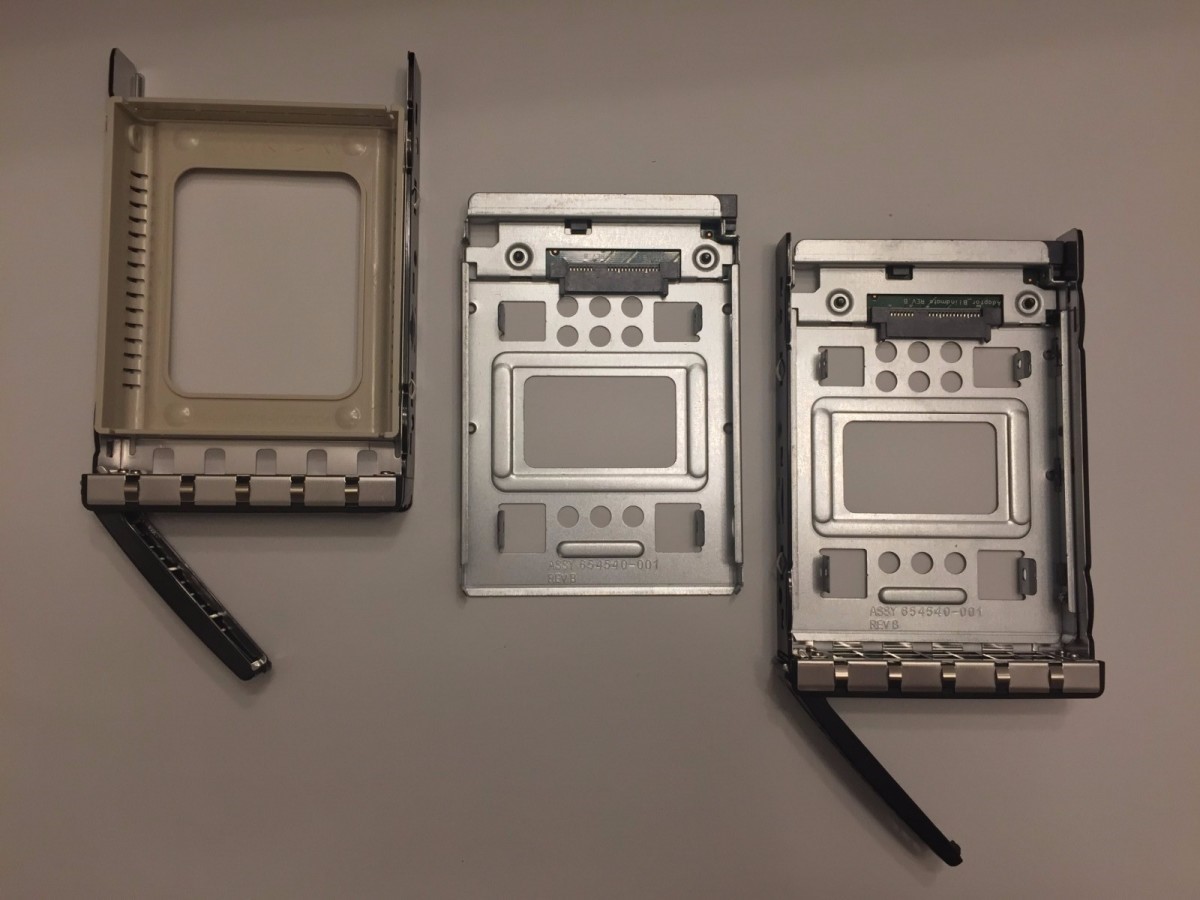
Assembling the rig is a straightforward process that’s identical to building a custom computer, with the only real difference being the volume of parts involved. Begin by swapping out the default drive caddy trays to fit the SSDs from the part list. Insert them into the drive bays on the front once assembled.
Next, install the dual Intel Xeon CPUs.
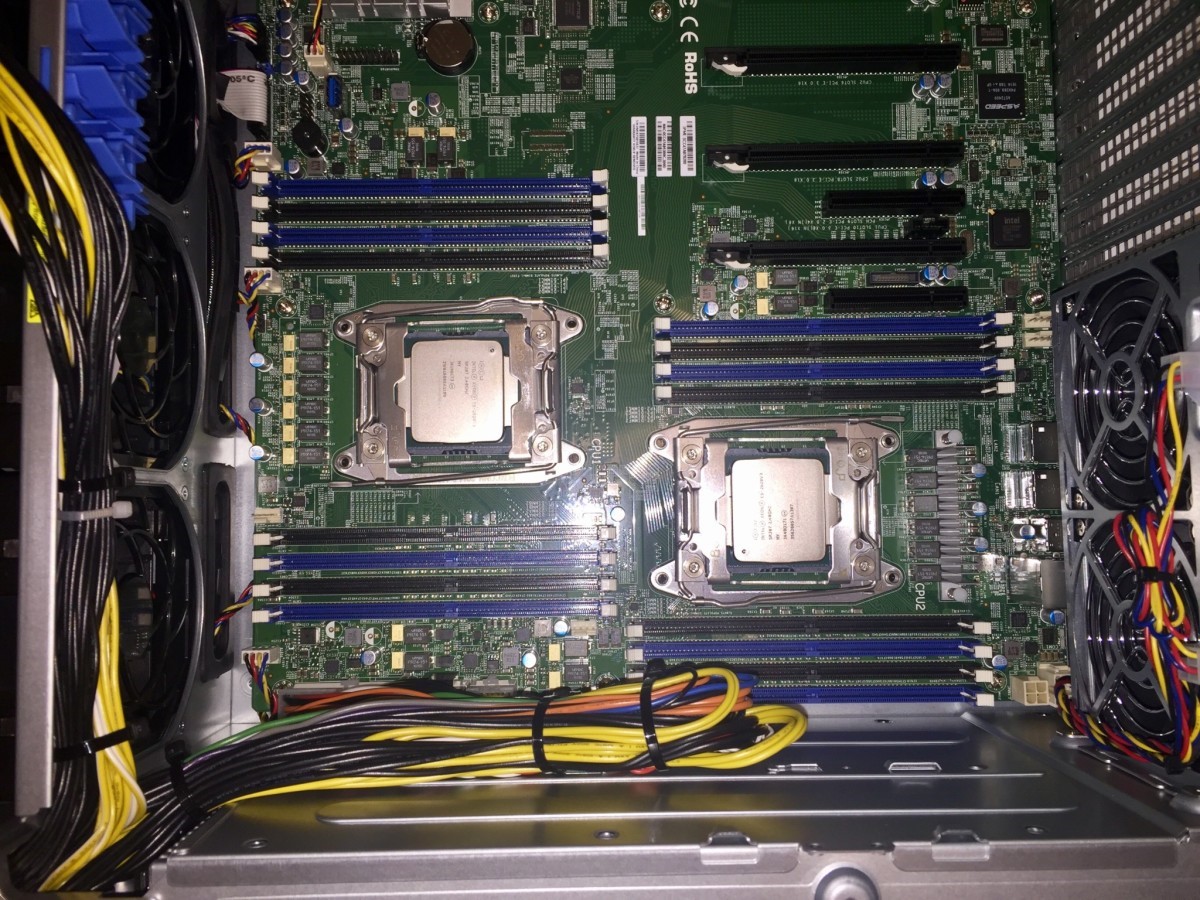
Insert the four 16GB sticks of RAM before adding the heatsinks above the CPU, or it’ll be too difficult to maneuver.
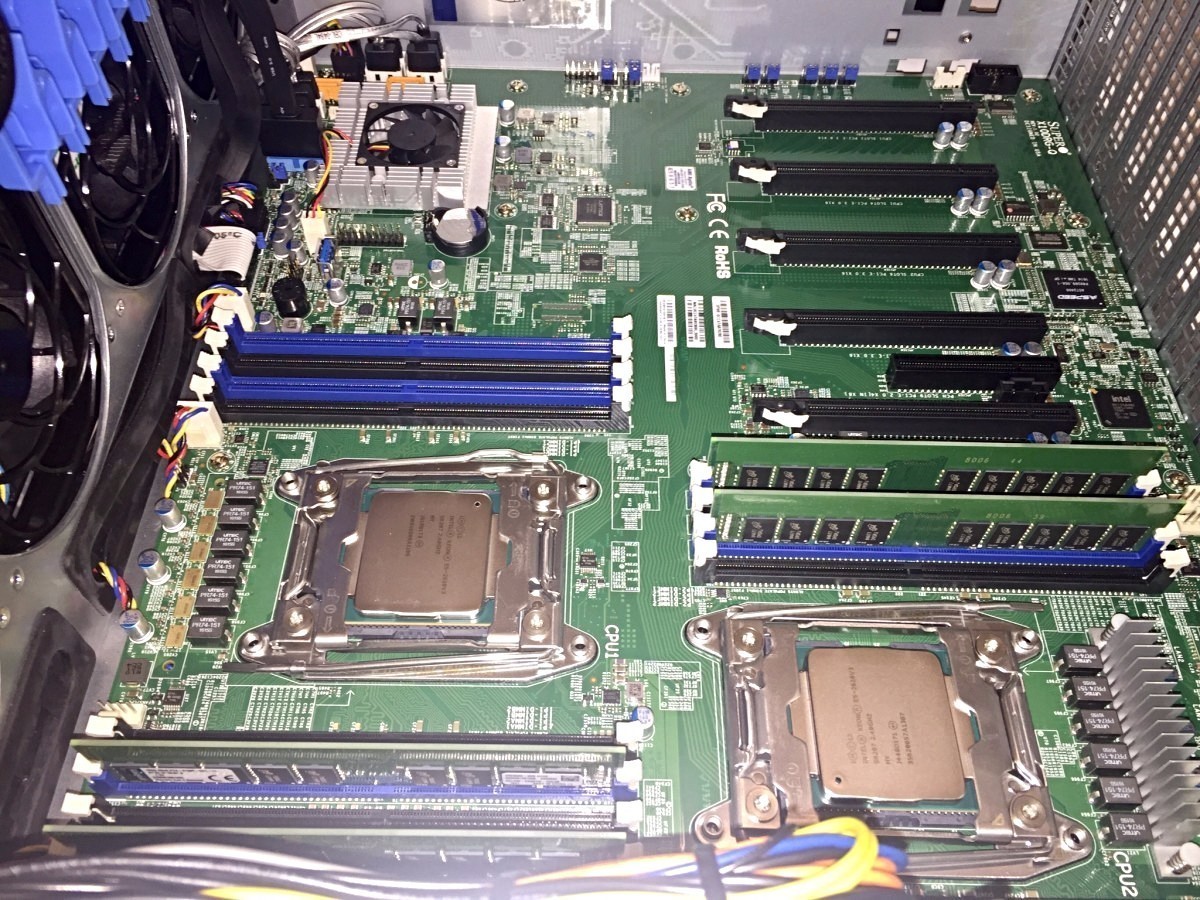
Proceed to swap out the default heatsink mounts and replace them with the ones included in the Supermicro 7048GR-TR package. Ensure that the heatsink includes a coat of thermal paste; otherwise, apply your own.
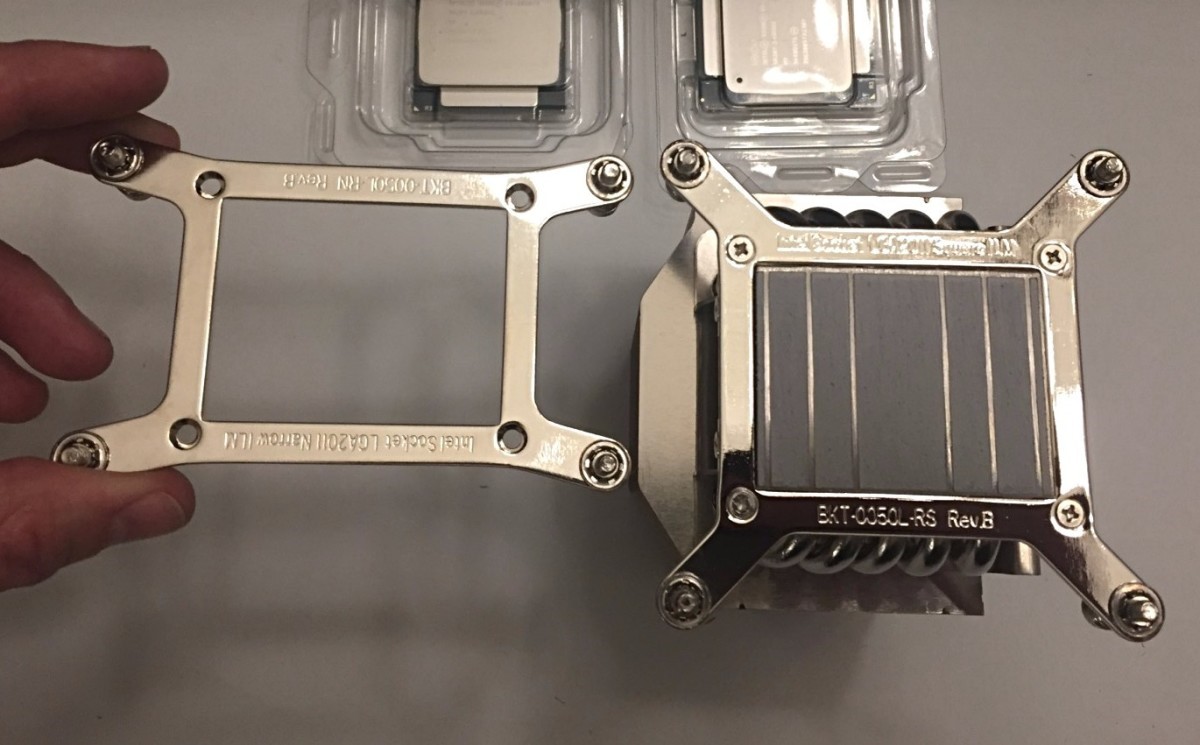
Screw the heatsinks into place.
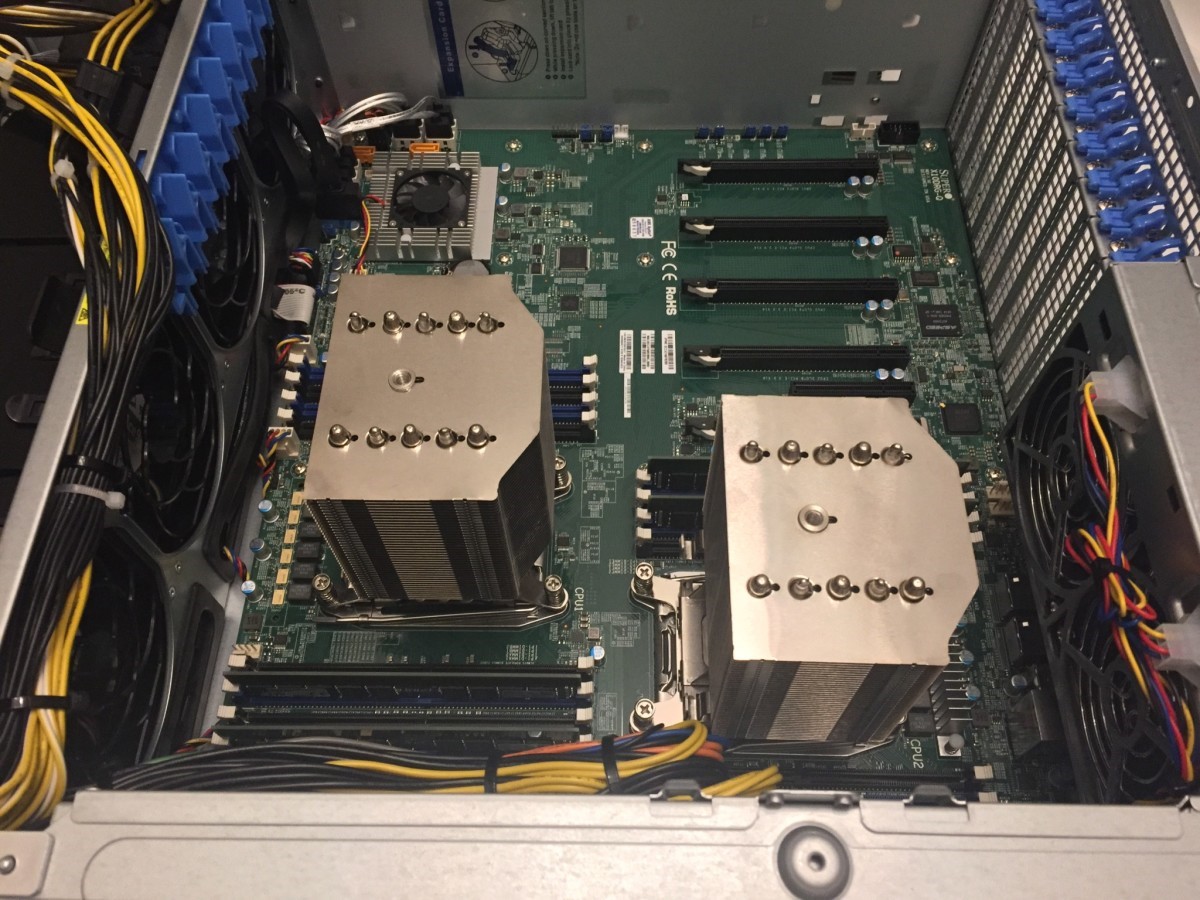
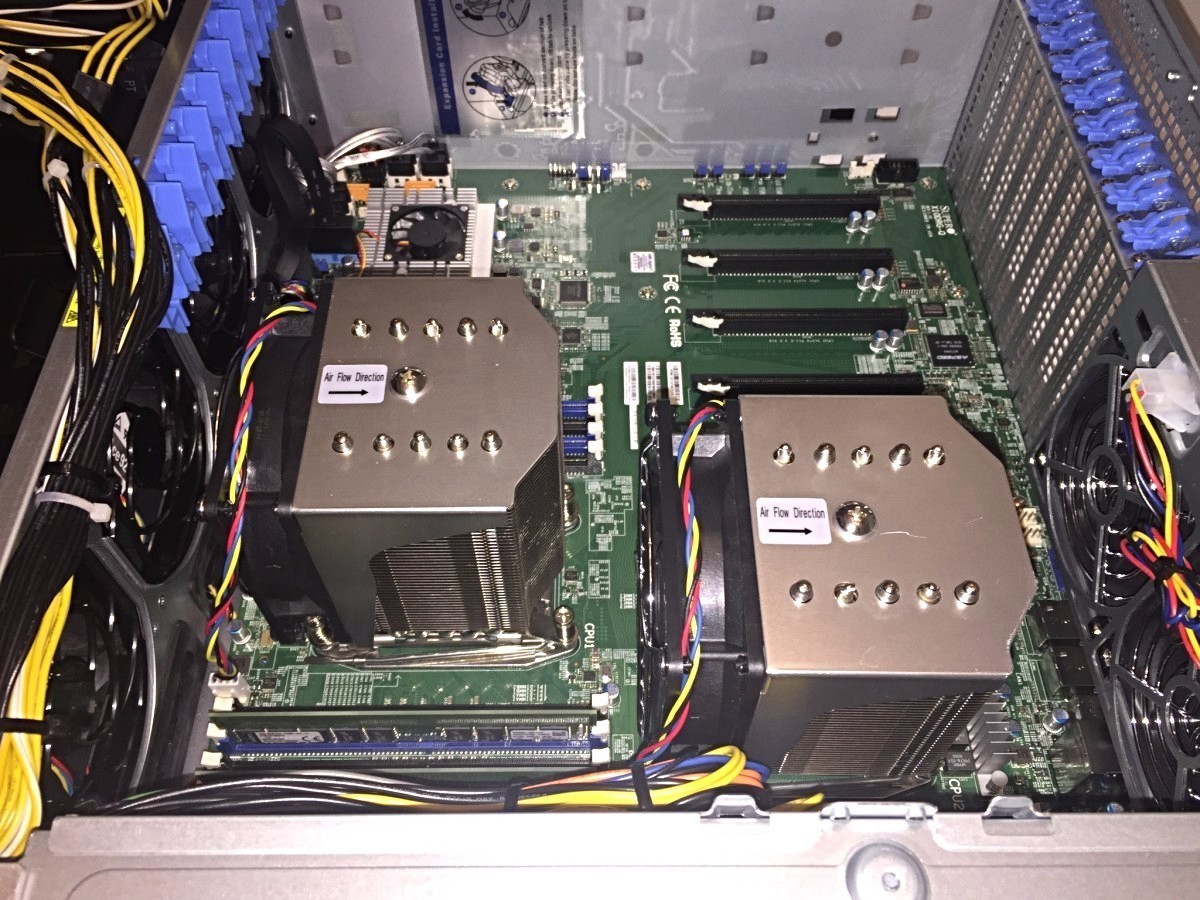
Proceed to install the heatsink fans included in the package. Plug them into the ports next to each CPU slot and loop the wire around the fan to prevent it from dangling.
Here comes the best part: installing the four GPUs. First, remove the backplates spanning across the four PCI-E 3.0 slots to allow the GTX 1070 to slip into place.
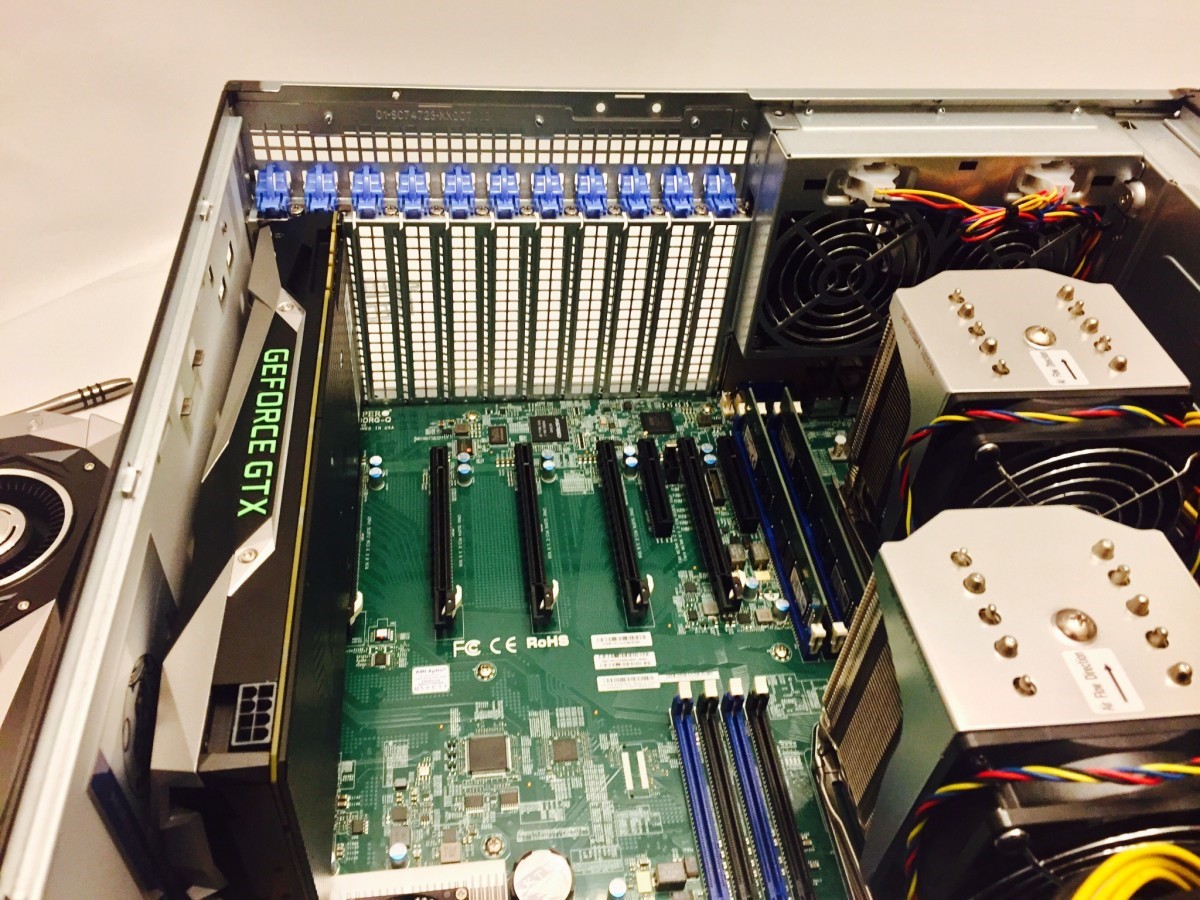
Continue until you’ve connected all four GPUs. Don’t forget to plug the power supply connectors into the cards; use the two longer connectors for the two furthermost GPUs.
Assembly complete! Insert the power cord for the two 2,000-W redundant power supplies and close up the rig.
Installing the software is a different animal altogether requiring a separate set of instructions. Fortunately, Netmux saves us hours of headaches trying to figure out how to install the GPU drivers on Ubuntu and other intricacies. Jump over to their website and follow the instructions.
In any case, you’ll need the following software:
– Ubuntu 14.0.4.5 Desktop amd64
– Intel OpenCL Runtime 16.1 x64 Ubuntu Driver
– Nvidia Linux x86_64 375.20 Driver
– Hashcat v3.20
Install Ubuntu on a USB before proceeding to install the software in the order listed above. (Notice that the instructions call for Ubuntu Desktop over Ubuntu Server allowing users to use desktop functionality when not cracking.)
That’s it!
Log into your session using the GUI and begin cracking with Hashcat. Have fun!
Advertisement
Learn more about Electronic Products Magazine


