In the hours leading up to a party or the big game, it’s crucial to keep an eye on the kitchen’s stock of beer, as you don’t want to run out just as your event is hitting its stride. Maybe you have a relative who likes to sneak a drink when they come over, which results in you wondering whether you imagined that second beer in the fridge. Perhaps you just want to have a foolproof way of keeping track of your alcohol supply. With the help of a Raspberry Pi, you can now create your own smart beer fridge, capable of telling you how many bottles are inside, how many were taken out, and when they’ve been drank. Using some hacking methods and cloud data services, you can keep a close eye on your supply and know the best time to buy more.
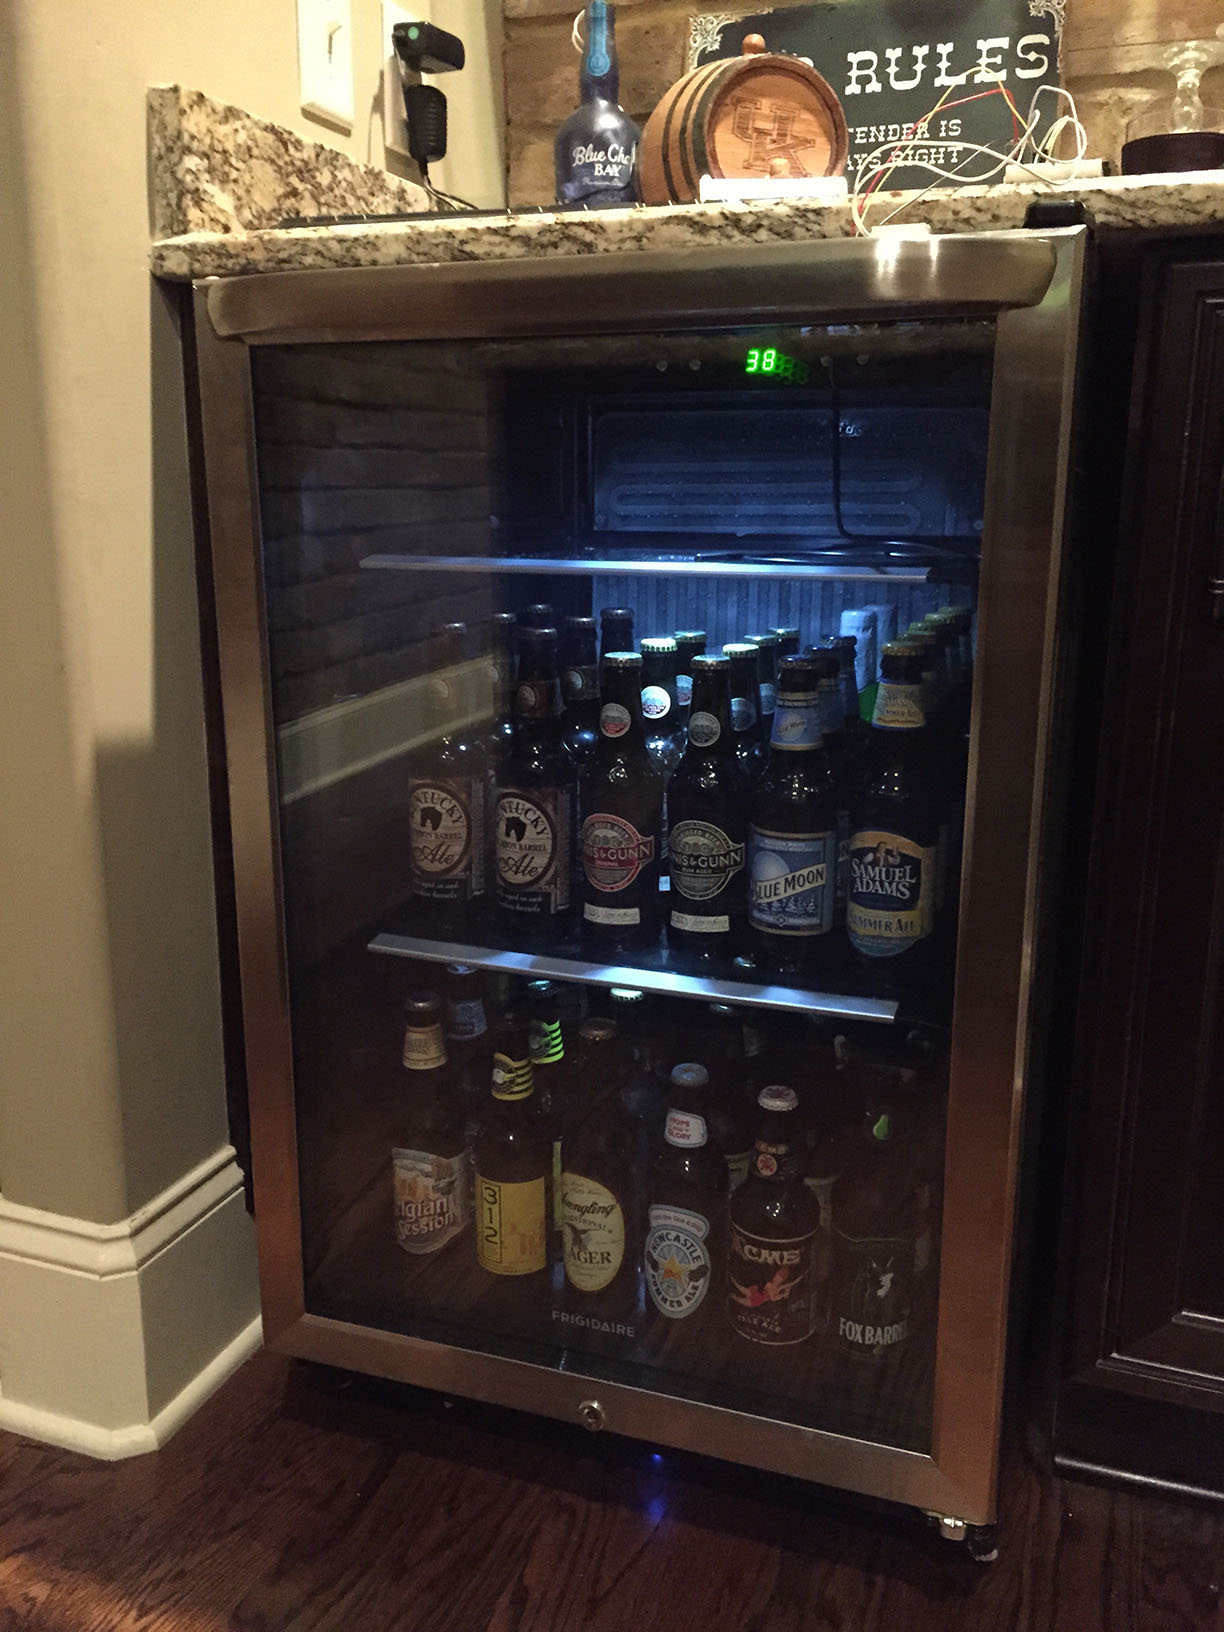
If you keep bottles of the same weight / size all in one fridge, then all you need to start this project is the Wii Balance Board, a Nintendo Wii video game peripheral used for detecting body movement in certain games. This feature, along with the board’s Bluetooth capabilities, will allow you to create a sensing system capable of detecting the contents within. In addition to the board, coding commands via a Raspberry Pi will hook up the fridge to an online data system, bringing you statistics showing when the fridge was opened. Follow the step-by-step guide below, and the days of underestimating your beer supply will soon be over.
Supplies
- Raspberry Pi 2
- Door sensor: Breadboard with jumper wires, resistor, magnetic contact switch
- Wii Balance Board
- Wii Fit Rechargeable Battery Pack
- Bluetooth adapter
- 3 felt pads, 3/8”
- Pencil
- Compact refrigerator
Step 1: Hack the Wii Balance Board as a scale
Plug a Bluetooth adapter into your Raspberry Pi, inputting the following line of code at the command line terminal:

This will link the Raspberry Pi to the Balance Board; following the connection, you’ll have to define this partnership through the modified script seen below:

Copy this to a Pi file and run it. When the device fully connects with the Board, it will tell you to press the Balance Board’s red sync button. You’ll find this under the battery cover that is underneath the Board, and see a Pi message similar to this:
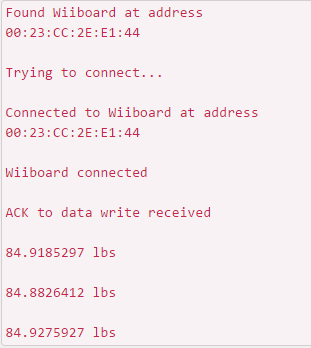
This signifies that the Wii Balance Board is set to function as a scale. Next, stop the script by pressing CTRL+C.
Step 2: Prepare the Wii Balance Board for placement
The next step requires that we tweak the Wii Balance Board, and then place it under the fridge. First, you need to replace the Board’s standard AA batteries with the Wii Fit Rechargeable Battery Pack, before plugging an AC power adapter into the wall.
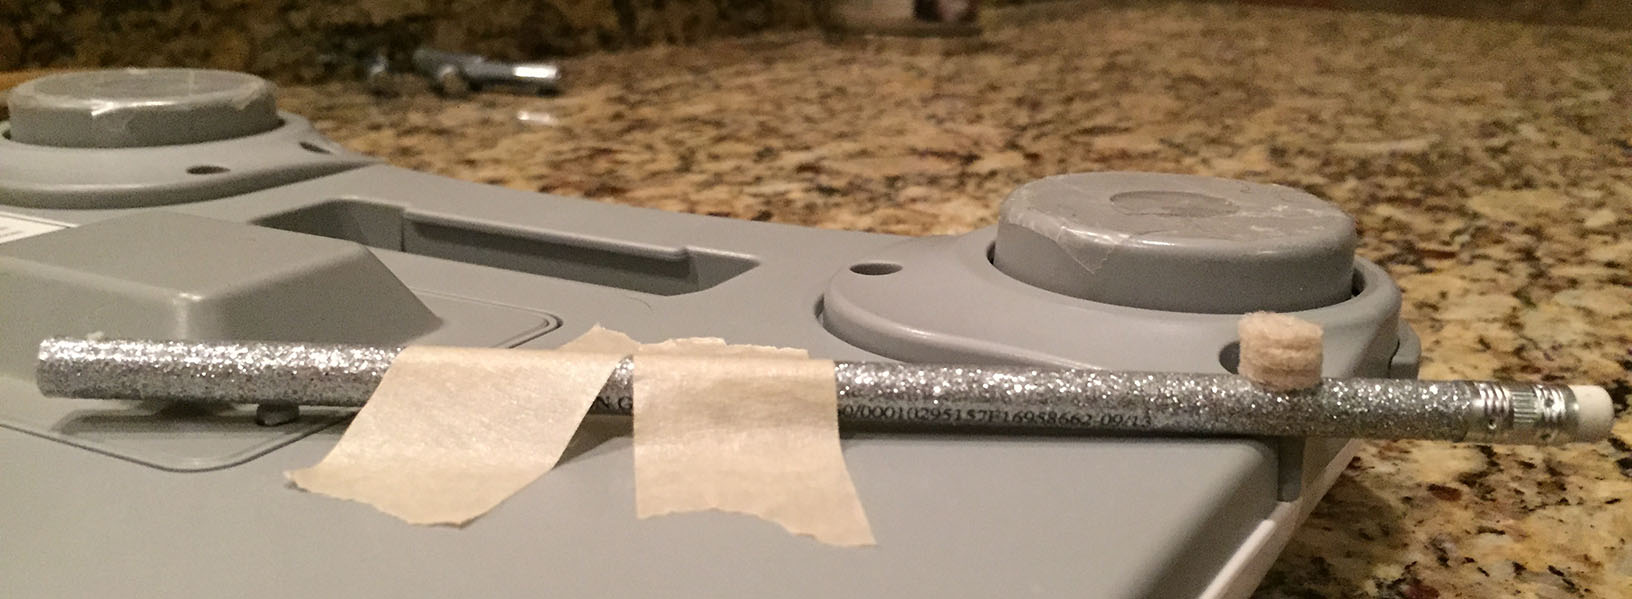
Because the sync button beneath the board must be pressed whenever you turn off the Python script, taping something like a pencil to the outside front of the board will help create a lever that can reach the button without having to flip the board. Stack three 3/8” felt pads (or anything similar) on the center of the pencil to create a lever.

Step 3: Add a door sensor
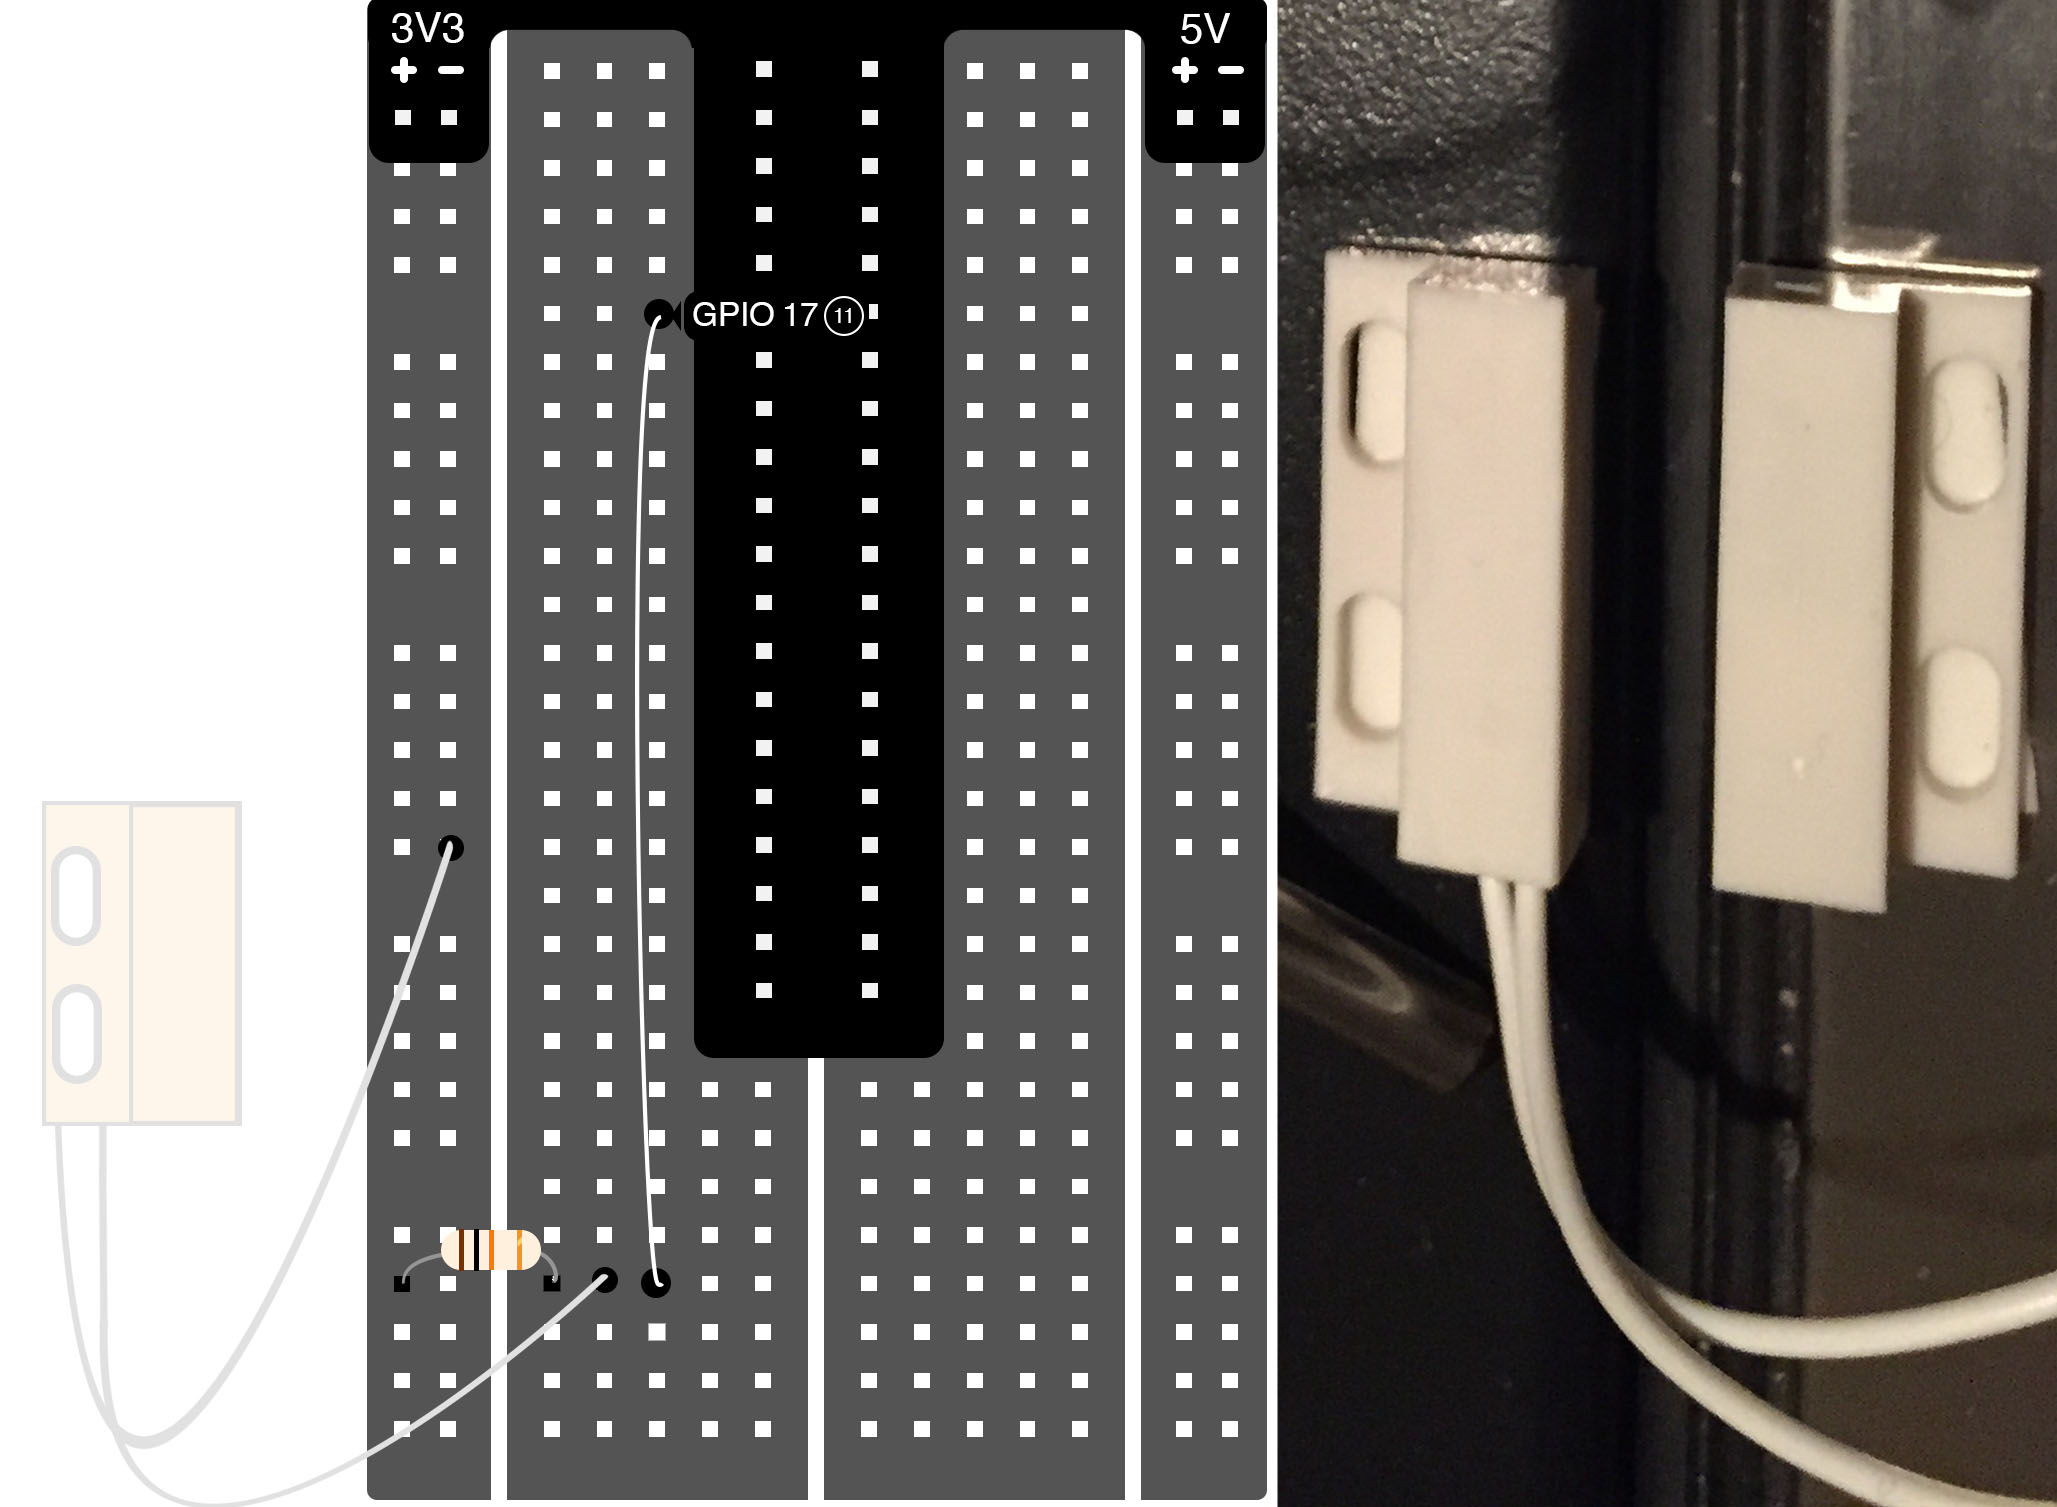
Next, you’ll need a door sensor to detect when the fridge was opened and if anything was removed; begin by attaching the sensor to the outside of the fridge with mounting tape. Wire the door sensor circuit to connect a sensor with GPIO pin 17 on your Raspberry Pi. Afterward, copy the following to a file on the Pi and run it:
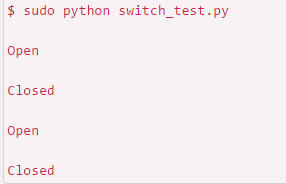
Bringing the ends of your switch together and then apart will cause “Open” or “Closed” to appear on your script.
Step 4: Join an Internet of Things cloud data service
At this point, you’ll want to stream the refrigerator data through a cloud service and have an online portal to check via your laptop or mobile device. The mind behind this process, systems engineer Jamie Bailey, used his data start-up company Initial State to stream his data. Bailey installed the Initial State Python module onto his Pi and then typed ‘y’ when he needed to get an example script:

After verifying that a data stream was created in your Initial State account, take note of your account’s access key for later on in the process.
Step 5: Final Touches
Copy the beerfridge_make.py script to a Pi file. When opening the file in a text editor, you’ll see user settings and what each line correlates to in your fridge.

Step 6: Go over your dashboard
After familiarizing yourself with user settings, run a final script:

The dashboard will display Waves visualization to show what kind of activity occurred in the fridge.

If everything functions properly, you’ll have a secure place to keep your beer, as well as a reliable online record of what you have in stock.
Source: Makezine
Advertisement
Learn more about Electronic Products Magazine


