No one willingly faces the summer without having a fan in the house, but some potent fans, such as Dyson’s Bladeless Fan, are on the expensive side. However, you can create the same effect as the bladeless fan with household items like a water jug, vases, and a microwave fan by following instructions from Rulof Maker’s project, resulting in your own durable fan that will keep you cool on those sticky summer days.
Materials Needed:

The regular-sized water jug and a plant vase are the project’s most essential items, as their shapes help ensure there is as much powerful air flow as possible in the final product.

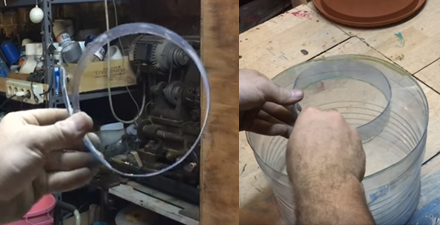
First, remove the bottom part of the vase, setting it aside – you won’t need to use it for the fan. Next, remove the jug’s bottom part, and then place the vase’s top inside the water jug.
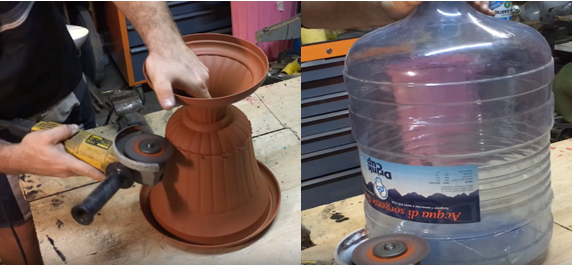
The two parts should fit together perfectly.
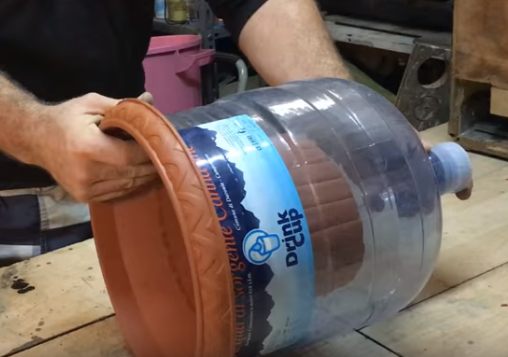
Next, use a marker to note the height of the vase on the water jug’s surface. Making a mark about half an inch above the vase is also recommended.

Cut along these markings with a grinder. Removing the top part of the jug, keep the vase and the remaining part of the jug together.
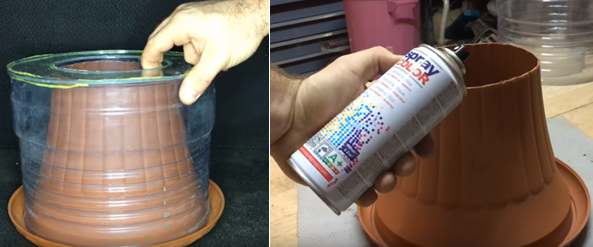
Taking a sheet of Plexiglas, place it against the combined structure and run your marker along both the inner and outer circle. The inner circle should be a little smaller than the vase’s actual radius.

After cutting out the inner circle, put everything together again. It should be clear that the Plexiglass is about half an inch away from the top of the vase.
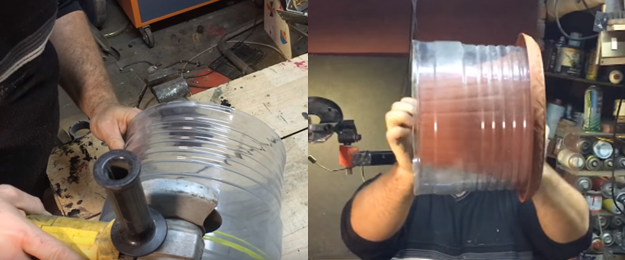
Next, take the bottom part of the jug and cut away four centimeters from it.

Cut this piece to make an even smaller circle, which you will secure inside the opening in the Plexiglas with glue.
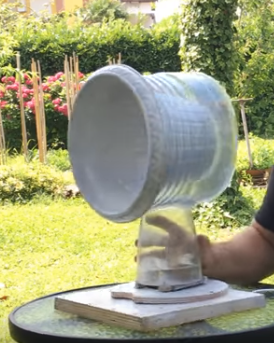
It’s also recommended to spray paint the vase white just for aesthetic purposes.
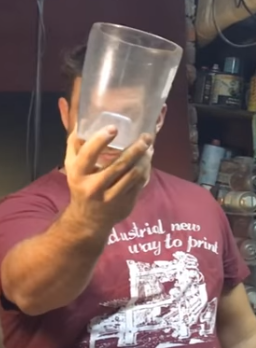
With the structure put together again, the next steps involve inserting the fan into place. For air to blow into the fan, another vase is needed. Remove the bottom part of the air to ensure better air flow.
Taking a microwave fan, insert it into the middle of the new vase, securing it with boards.

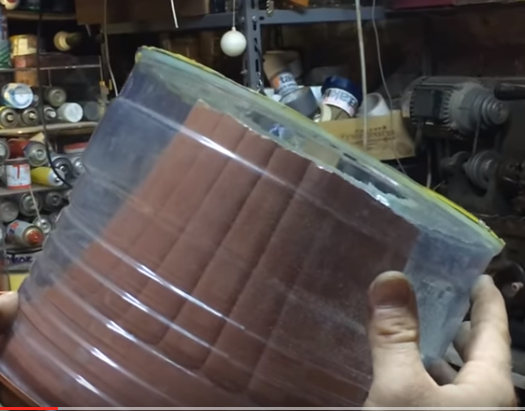
Place the vase on the side of the structure, mark its shape with a marker, and cut a hole in the plastic along these lines.
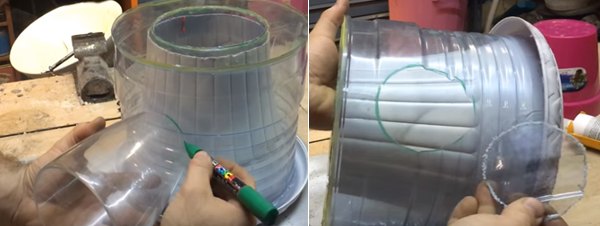
Attach the second vase into this new hole with some strong glue.
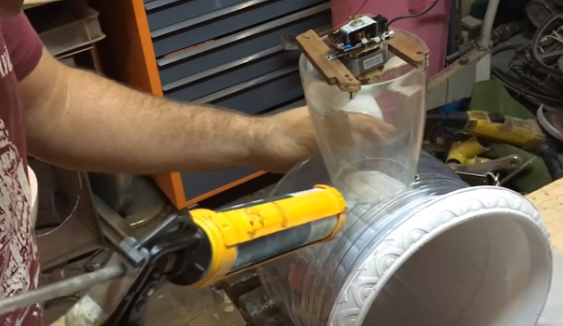
The final structure shows the fan pushing air up, filling the gap between the outside and inner containers.
The bladeless design creates a Venturi effect, which is when a fluid that flows through a pipe is forced through a narrow section, leading to a pressure decrease and velocity increase. Similar to a jet effect, a real life example is seen with the feeling experienced when a thumb is placed at the end of a hose with the water running. The water’s velocity increases when a finger covers the water, while the pressure in the smaller hose area creates a vacuum in the water. A paper explaining the technology behind Dyson’s bladeless fan clarifies that air leaves the fan at a higher velocity than the air behind the fan, leading to an area of low pressure. This difference in pressure between high velocity air and still air draws in induced air.
Check out these steps in video form here, and enjoy those cool days after you make your fan!
Source: Tech-FAQ, Rulof Maker, Gizmodo, Rochester.edu
Advertisement
Learn more about Electronic Products Magazine


