In what’s effectively become an Orwellian age of surveillance and scant privacy, cyber-security is becoming increasingly vital in maintaining the slightest semblance of freedom or anonymity. Whether to protect yourself from hackers, marketers, or intelligence agencies, email encrypting is a powerful way to secure sensitive information like social security numbers, banking info, trade secrets, or to exercise one’s human right to privacy.
If you’re still on the fence about following a set of instructions and installing the necessary encryption software, consider the following two points: According to the Electronic Frontier Foundation , largest email providers (Yahoo!, Verizon, Comcast, AT&T, and Apple) don’t require search warrants to access email content. Secondly, every time you check your email using a mobile device, you’re letting the email provider know what your IP address is, and since IP addresses can be loosely tied to location, the provider will have clear map of where you are at all times of the day. Why should they be entitled to this?
Fundamentally, there are multiple forms of email encryption with varying degrees of security; security level grows in tandem with the complexity of setup. But at the center, all email encryption relies on encrypting three things: the connection from the email provider, the email itself, and stored or archived emails from the past. Encryption can be achieved on the email provider’s server, using easy to install apps to encrypt/decrypt with a click of a button, or on the “end device” itself, your computer or mobile device. Encrypting on the provider’s server means the email’s contents are visible until the provider executes the encryption, whereas encrypting on the email on the end device ensures the content is unreadable before it’s even sent. For obvious reasons, the latter is a far more superior method.
In very short, simple terms, the encryption process works by jumbling up the contents of the message to make it look like gibberish to all but the holder of the decryption key (password) — essentially, a password that extracts the true meaning from the noise.
The current best standard in email encryption is OpenPGP, otherwise known as end-to-end encryption. Unlike the “end-to-email-provider” method reliant on maintaining a confidential private key with all email recipients, OpenPGP uses two keys, one public and one private. As result, there’s no need to worry about securely distributing keys, as the public key is used to encrypt and the private — which you alone hold — to decrypt. The process can be summarized below:
A. The user wishing to send you an email encrypts it using your public key. This key can be either freely provided as it serves no use other than encrypting the email.
B. Email is sent along the “information highway,” passing hundreds of insecure nodes between point A and point B, as is typical across the Internet. If intercepted, attacker cannot view its content without the private key
C. You use the private key to “unlock” the email’s content
D. Profit; you are now a boss and every encrypted email is a protest advocating privacy.
How to set up PGP
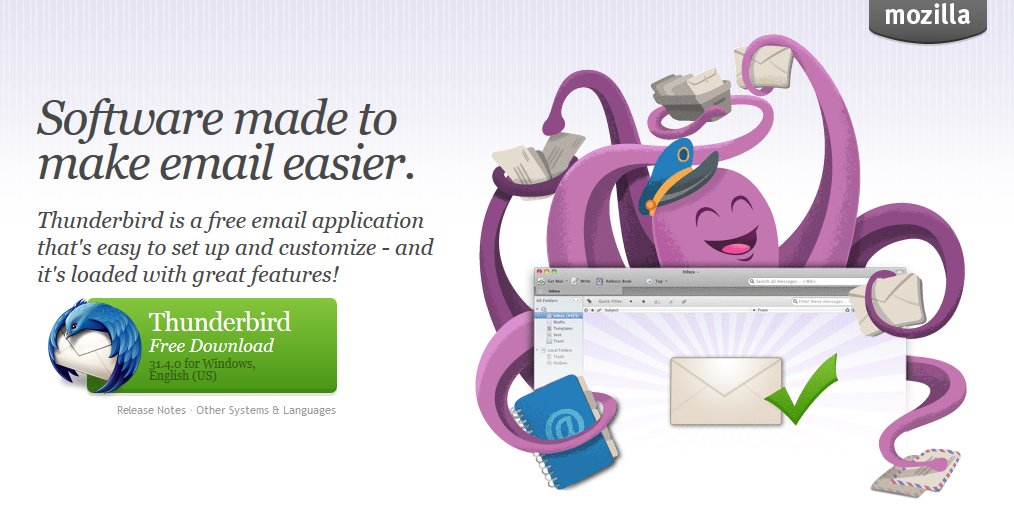
1. Install a localized email client that runs off of your own computer. I recommend Mozilla Thunderbird as its easy to use and contains a database of settings from all the major email providers, allowing it to automatically configure itself with just your email address. Should the automatic configuration fail, you’ll need to obtain your email providers server address and port numbers to configure IMAP or POP incoming mail and SMTP outgoing.
2. Install the software that actually performs the encryption standard. Windows users should install Gpg4win , Mac users Gnu Privacy Guard , and Linux folks should install GPG tools .
3. Create the password that will be typed every time you wish to encrypt or decrypt content and be sure to come up with something a tad more complex than a single string of characters and numbers, preferably a phrase that only you will remember such as “Tuesday night is pizza night at the Apollo;” the encryption is only as safe as this string. Make a note of it offline and keep it very safe, as you’ll never be able to decrypt your archival data if you lose this code.
4. Generate your public and private OpenPGP keys using the Kleopatra feature of Gpg4win on Windows, or whatever the corresponding feature is on Gnu Privacy Guard or GPG Tools. Regardless of the tool used, ensure you’ve properly specified the key length, which should be at least 2,048 bits or 4,096 for added measure.
On Kleopatra, this option can be found under the “advanced settings” tab. Once this is completed, proceed to generate the keys by selecting “File” -> “New Certificate.”
5. Download and install the Enigmail plugin for Thunderbird; the plugin servers as the link between the encryption software and email accessed through Thunderbird. It will include a new toolbar for encrypting and decrypting. Ensure you’ve downloaded the version appropriate for your operating system, e.g., Windows, Mac OS, Linux.
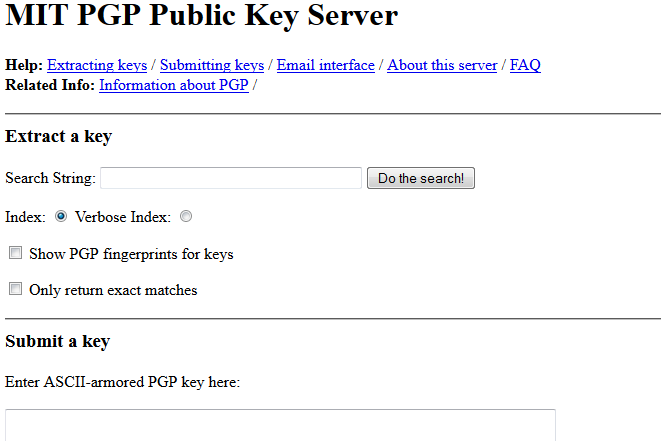
6. Upload the public key to a public key server; since keyservers communicate with one another, uploading to a single server is enough. This function may completed directly through the encryption software. Using Kleopatra, click “Settings” -> “Configure Kleopatra” -> “Directory Services” -> “Add” to add a keyserver; the default server is keys.gnupg.net. Next, select “File” -> “Export Certificates to Server.” For now, disregard the warning about creating a revocation certificate.
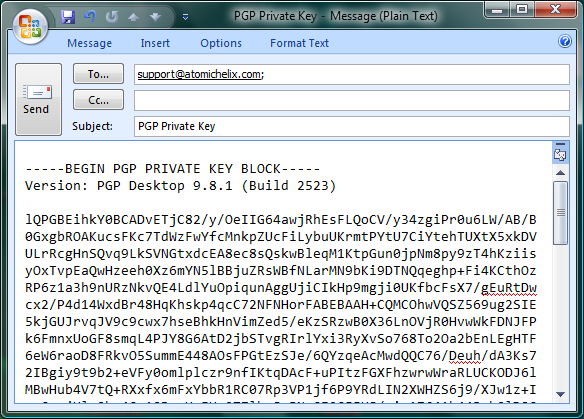
7. Just as it’s important to remember the passphrase used to enact encryption/decryption, it’s equally important to back up your private key. Seriously, lose either of these and you’ve practically lost the encrypted content. By default, the private key is stored on your computer, so we’ll need to export it to a flash drive or burn it on a CD to protect against the unlikely, but plausible, event of a disk crash. To do this on Kleopatra, select your certificate (the key) and click “File” -> “Export Private Certificate.” Create a name for the file and uncheck ASCII Armored, then proceed to make the copy.
Congratulations, you’ve now joined the elite ranks “informed computer user.” There’s an additional bit of flourish needed to actually use this stuff, but I’ll cover that next week.
Source: Bob Brown via Bitmonger
Advertisement
Learn more about Electronic Products Magazine


