“Do you want to be the first person tattooed by a robot?” Pierre Emm asked his fellow students at the prestigious ENSCI Les Ateliers design school in Paris. Pierre is the leader of a team that competed in a hack-a-day event organized by the French Ministry of Culture, in which teams “mashed up” open source hardware and created something completely original with the help of manufacturing experts in a one day. His team created the “3D Printer X Tattoo Machine project,” a tattoo machine using a refitted 3D printer.
Pierre said it all began as a silly idea tossed around during a brainstorming session, but after consulting a manufacturing expert from Le FabShop, it was quickly realized that the school had more than enough resources to actualize their idea into a prototype.

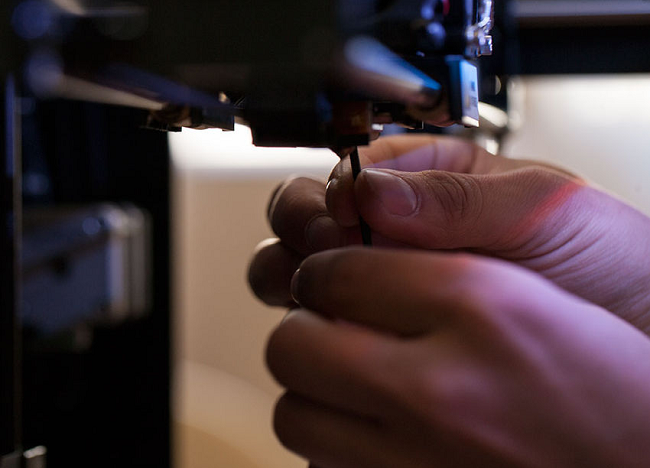
During the course of their 8-hour time limit, the students installed an ink pen in place of an extruder on a MakerBot and successfully drew pre-selected shapes on artificial skin. The Minister of Culture was so mind-blown, that he allowed the students to continue working on their design with the goal of integrating an actual tattoo-machine.

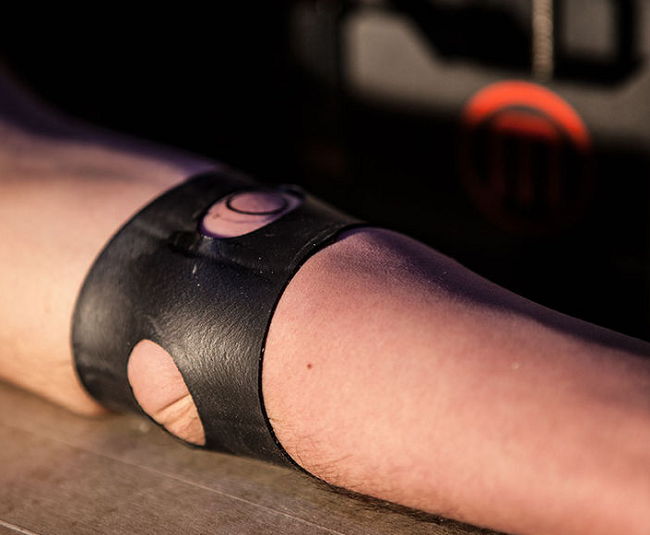
Acquiring the machine and the test subject was easy. To Pierre’s surprise, there’s no shortage of people wanting to be first in line to be tattooed by a “robot,” even if that “robot” was actually a 3D printer and the “artwork” was actually a circle. However, what wasn’t easy, was working around the elasticity of real skin, which is more flexible than even silicone. Pierre said they used many tricks including tightening the area around the skin with a metal ring, elastics, and scotch tape, but in the end, turned to a scooter’s inner tube.
The steps below outline the basic steps build the 3D Printer X Tattoo Machine project, for anyone seeking to understand how the project was assembled.
Step 1: Measure equipment and create a holster to install in place of the 3D printer’s extruder.
Step 2: Firmly secure the tattoo pen in the holster; ensure there’s absolutely no wobbling.
Step 3: Mark the center of the build platform.
Step 4: Create the “drawing” in a 3D modeling software with a minimum thickness of 0.2mm. Do not fill in the lines.
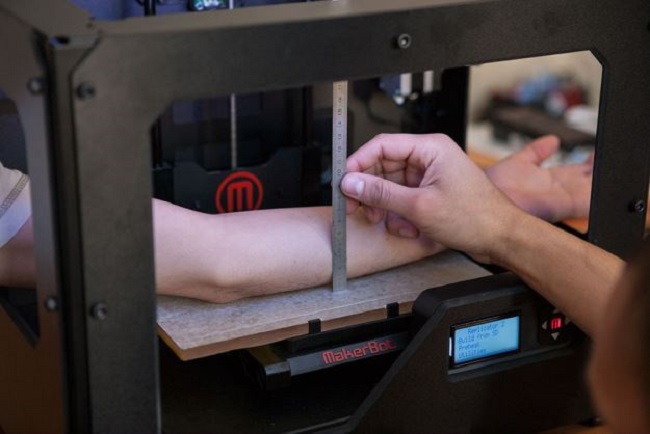
Step 5: Measure the length between the top of your arm, at the precise position where the tattooing will occur, and the platform. Insert this number into the modeling software to accommodate this height and tell the printer how high off the platform to raise the needle.

Step 6: Draw a preliminary circle on the skin and tighten the scooter tube (what’s used as the harness). Careful not to tighten to rubber too much or the circle will turn into an oval when the harness is removed.
Step 7: Sterilize every single element and any tools that contact human skin.
Step 8 : Fill the needle with ink
Step 9: Secure the victim’s hand and make sure everything aligns before starting the printer
Step 10 : Enjoy ensuing circle tattoo that you’ll probably regret down the road.
The in-detail guide is available on Instructables.
Story via psfk
Advertisement
Learn more about Electronic Products Magazine


