It’s bad enough to get a device stolen and have to cancel your accounts, change all passwords, and deactivate your SIM cards. To limit the cleanup of stolen or lost devices, Find My Phone features and strong passcodes or PINs are a solid place to start, but ultimately encrypting is necessary.
Even if you use a strong password to protect your user account, that doesn’t grant your security if someone swipes the device. The drive can be simply removed from many computers and plugged into another system, or can be booted from an external drive and the data can be copied onto the new drive. On Android phones and tablets, the devices may be rebooted, allowing files to be accessed via debug tools.
Even if you completely wipe your drive, disk recovery software may be able to read old files, which is why encrypting is so beneficial, making it almost impossible to copy data.
Full-device encryption isn’t an option across the board of every device yet, but most mobile OSes and major desktops support it. Here is what you need to know about encrypting everything on your device, rather than a specific folder, and why it is advantageous.
iOS:
With the iOS 8, you do not need to worry much because, as long as you have a passcode set, then your data is automatically encrypted. In Apple’s iOS 8.3 whitepaper, it states that “key system apps, such as Messages, Mail, Calendar, Contacts, Photos, and Health data values use Data Protection by default, and third-party apps installed on iOS 7 or later receive this protection automatically.”
OS X: FileVault:
Apple began supporting full-device encryption in 2011 with its launch of the OS X 10.7 (Lion), and recent Macs even offer to encrypt storage as part of the first-boot setup process.
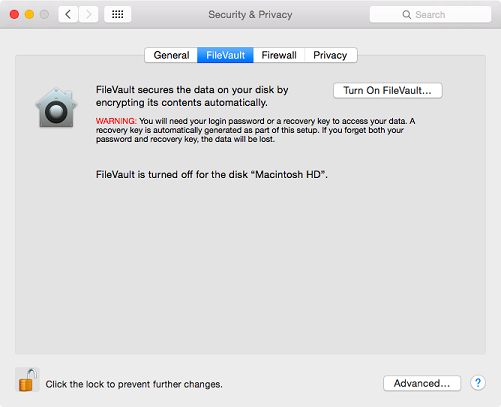

In order to do so, go to the Security & Privacy panel in System Preferences, select the FileVault tab, click Turn On, and you will be prompted to engage with two options: store the key used to unlock your disk somewhere yourself, or choose to store it in your iCloud account. A local recovery key keeps it off of Apple’s server, but locks you out of the system if you lose it, leaving you with nothing. If you choose to store in your iCloud, a two-step verification is recommended.
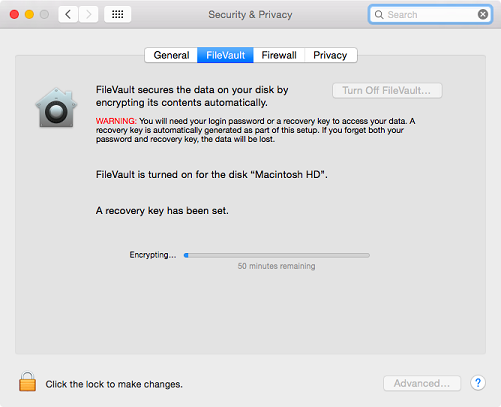
Encrypting your device slightly alters the way OS X works, requiring you to put your account password in to unlock the disk before the operating system boots instead of afterward. It also requires that you specify which users’ accounts can decrypt the disk, or otherwise, only the account that turned in FileVault will be able to turn on the machine.
Android:
Unlike iPhones, most Androids are not encrypted by default, but it’s quite simple to do so manually and even works on Nexus devices or anything running the OS.

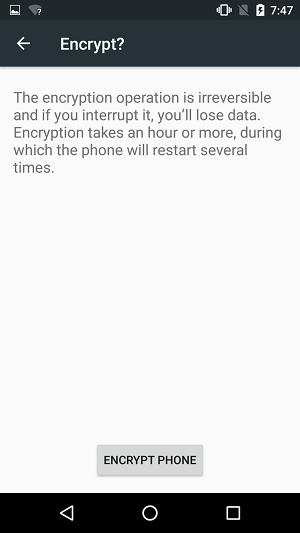

On your smartphone, go to the Settings app, then Security, and tap “encrypt phone” to begin. You’ll have to either plug your phone in or make sure the battery level is above 50 percent to ensure no interruptions during the encryption, and you’ll also be required to set up a PIN or passcode to protect your phone most likely reboot.
To confirm that your phone was successfully encrypted, go to Settings, then Security, and look for a small “Encrypted” badge under the “Encrypt phone” menu option. If your device says it’s already encrypted, you may have one of the new post-Lollipop phones that came out of the box with encryption.
For newer devices with 64-bit ARMv8 processors and quicker storage, encrypting your phone can positively impact its performance. Older or slower devices lack hardware encryption acceleration and use slower flash memory.
Note that if you manually encrypted the phone, there is no way to decrypt the phone later on, except for wiping and factory resetting the device. Similarly, if the phone was encrypted out of the box, there is no way to decrypt the device without making extensive software modifications.
Chrome OS:
As Chromebooks and boxes are locked down by default and extended to local storage encryption, you do not need to worry about the OS too much unless you have turned on Developer Mode. Chrome uses the eCryptfs file system and each user directory is protected by a separate encryption.
Linux:
A variety of Linux distributions are available, which make it difficult to choose just one tool or script to use. If running a recent Ubuntu, the OS will give you an option to encrypt your data when you install it, which can be chosen by ticking the box, or other third party options can be found here.
Windows Phone 8.1:
Windows Phone 8.1 supports the security, but only when a device management server has told it to encrypt itself, and there is also no option for users to cipher devices on their own.
BitLocker encryption, which is user-initiated, may be available in Windows Phone 10, an update most Windows Phone 8.1 devices can get.
Windows OS:
Since Windows is a complex operating system that runs on a wide range of hardware, encryption is a bit more complicated, but there are a variety of built-in tools on modern versions of the OS.
A small percentage of computers with pre-installed Windows come readily encrypted data storage devices for those who sign into their systems with Microsoft or Active Directory accounts and meet these hardware requirements:
- Support for the Secure Boot
- A Trusted Platform Module (TPM), requiring TPM 2.0 – most current devices use TPM 1.2
- Hardware and firmware support for Windows’ InstantGo (formerly Connected Standby) feature, which allows a sleeping system to wake up periodically and refresh certain data, like e-mail messages or calendar events.
- InstantGo comes with its own set of hardware requirements, including a solid-state boot volume, NDIS 6.30 support for all network interfaces, and memory soldered to the motherboard. The system must also rely on passive cooling when in Connected Standby mode, even if it normally uses a fan.
This automated method is beneficial and available with all editions of Windows, but the hardware requirements are inflexible and cannot be added to a machine you already have.
If you wish to opt for an encryption as yours does not meet those requirements, the BitLocker software is a safe bet as it has less stringent hardware necessities, though does work best if your computer includes a TPM.
In Windows 10, users of the Pro, Enterprise, and Education editions can all use it; in Windows 8.x, it works with the Pro and Enterprise editions, while Windows 7 and Windows Vista require either the Ultimate or Enterprise editions. BitLocker cannot be used in Home and Bing editions of Windows, nor can it be used with pre-Vista versions of Windows.
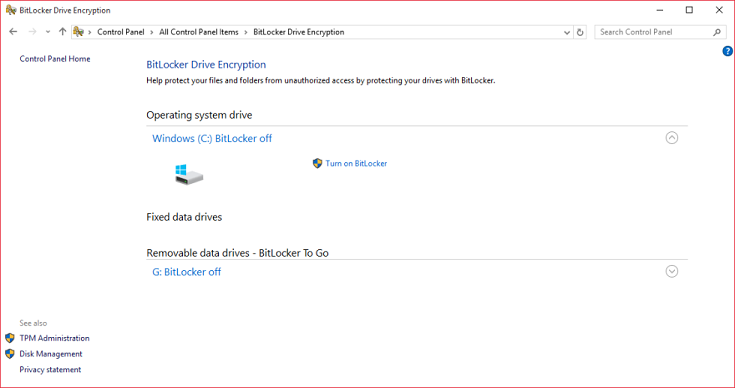
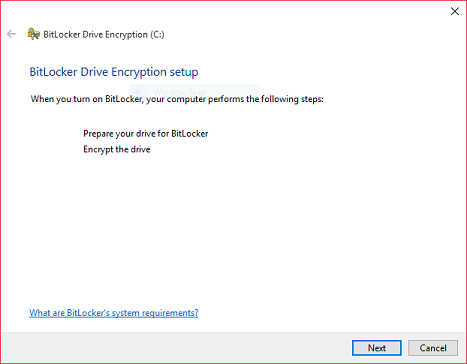
To enable the encryption, go to the desktop version of the Control Panel and click BitLocker Drive Encryption. If you have a TPM (generally located in the Device Manager), you are able to save your encryption recovery key to an external drive or your Microsoft account, click through all the screens, and result in an encoded device. You have the option to either encrypt only the space on the disk or on the full drive.
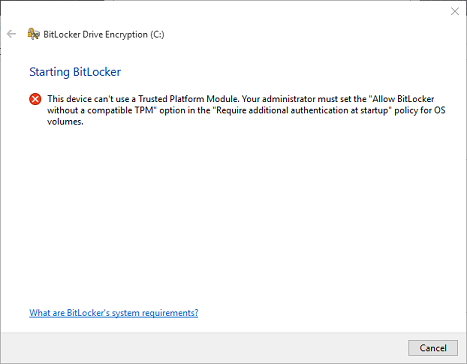
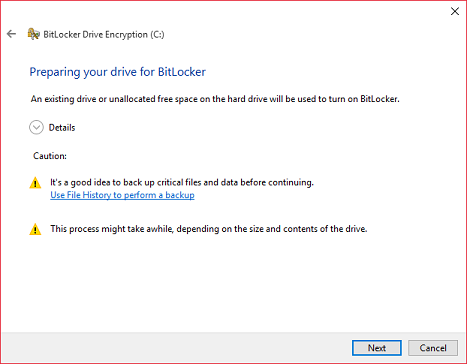
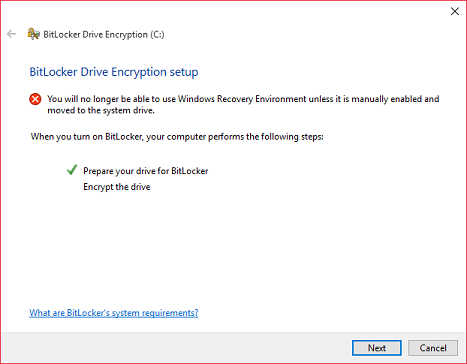

If you do not have a TPM, you can still encrypt your machine, but a few extra steps are needed. BitLocker will not work without one by default, but once you flip the switch, there are ways to get around it.
- Go to the Start menu or use the Windows+R hotkey combo and type in gpedit.msc, which is a local policy editor that works like the group policy editor used in large businesses, but the settings just apply to one computer instead of several.
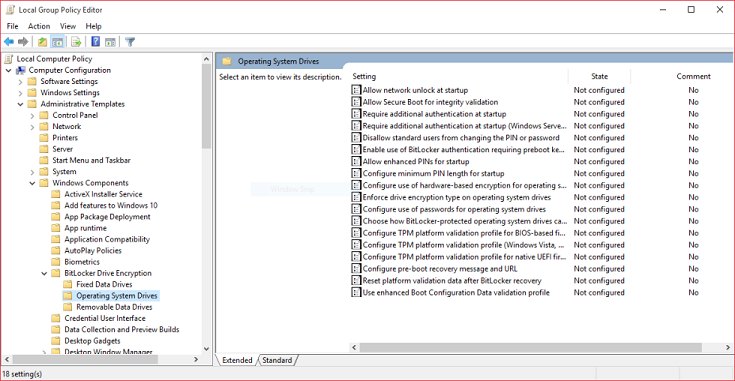
- Go to Computer Configuration, then Administrative Templates, then Windows Components, then BitLocker Drive Encryption.
- Select the Operating System Drives folder.
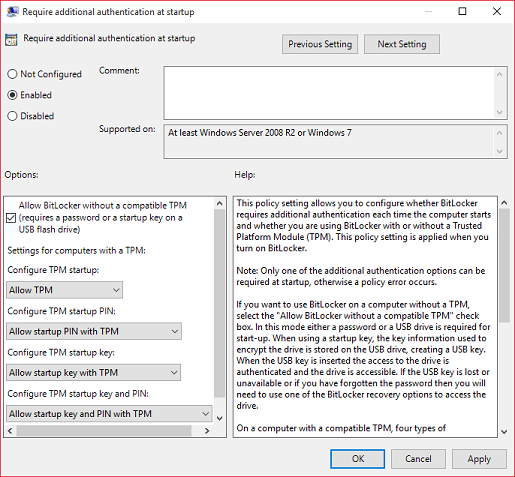
- Double-click Require additional authentication at startup.
- Click the “enabled” button, and then check the “Allow BitLocker without a compatible TPM” option below.
- Click OK.
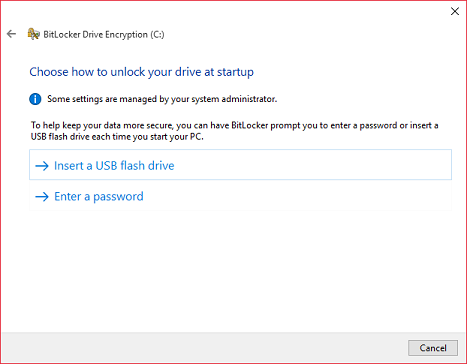
Under Control Panel, open up the BitLocker Drive Encryption, where you can then either use a USB key that will need to be plugged into your computer to unlock it every time, or you can come up with a special password (separate from your account password) that you type to unlock the drive each time.
Source: ArsTechnica
Advertisement
Learn more about Electronic Products Magazine


